That sharp snap of a freshly bitten pickle — crisp, tangy, and just a little bit garlicky — still takes me straight to the cluttered countertop in my tiny kitchen last summer. The hum of the fridge, the faint clink of glass jars, and the faint scent of dill mingled with garlic that filled the air, promising something good was on the way. Honestly, I wasn’t expecting much when I tossed those cucumbers into the jar, but the next day? They were just right — crunchy with a punch of flavor, and totally addictive. It’s funny how something so simple, like quick crunchy garlic dill refrigerator pickles, can become a little treasure in your fridge, waiting to brighten up any snack or meal.
I’ve always been the kind of home cook who leans on feel and memory rather than strict recipes, and these pickles are no exception. I remember reaching for a snack after a long day and realizing the usual store-bought pickles just didn’t hit the spot. That’s when I started experimenting with this recipe, combining pantry staples with fresh garlic and dill to get the perfect balance of tart and savory. What stuck with me was how fast they were ready — just 24 hours — which is a game-changer when you want something crunchy and tangy without the wait of traditional fermentation.
There’s a quiet comfort in knowing this recipe lives in my fridge, ready for an impromptu sandwich, a side for cozy dinners, or even a salty snack on its own. It’s not just about the pickles, but the little moments they bring — a reminder that good food doesn’t have to be complicated or time-consuming. I trust these quick crunchy garlic dill refrigerator pickles to deliver that satisfying snap and flavor every single time, and I think you will too.
Why You’ll Love This Recipe
After testing countless variations, this quick crunchy garlic dill refrigerator pickles recipe has earned its place in my kitchen rotation for a bunch of reasons. Not only is it incredibly straightforward, but the results always hit the mark — crisp, flavorful, and ready when you need them.
- Quick & Easy: Ready in just 24 hours, perfect for when last-minute pickle cravings hit.
- Simple Ingredients: No need for fancy or hard-to-find items — most are pantry staples or easy to get.
- Perfect for Any Occasion: Whether you’re throwing a casual lunch or prepping snacks for a cozy night in, these pickles fit right in.
- Crowd-Pleaser: They’re always the first to disappear at gatherings, loved by kids and adults alike.
- Unbelievably Delicious: The crispness combined with garlicky dill tang is just next-level comfort food.
This recipe isn’t just a quick pickle; it’s the version that nails the texture and flavor balance. I’ve found that using fresh garlic cloves sliced thin and a good handful of fresh dill really makes the difference. Plus, the brine is perfectly seasoned — not too salty, just right to let the natural cucumber flavor shine through.
It’s the kind of recipe that makes you pause after the first bite and think, “Yep, I nailed this.” And honestly, that’s why it’s stuck around in my kitchen — it feels like a little win every time I open the fridge.
What Ingredients You Will Need
This recipe uses simple, wholesome ingredients to deliver bold flavor and satisfying crunch without any fuss. Most of these you might already have on hand, which makes whipping up a batch even easier.
- Cucumbers – about 1 pound (450 grams), preferably Kirby or pickling cucumbers (firm and crunchy)
- Fresh dill – 3 to 4 sprigs (adds that classic pickly aroma and flavor)
- Garlic cloves – 3 large, thinly sliced (for that punchy garlic taste)
- White vinegar – 1 cup (240 ml) (provides the tang and preservation)
- Water – 1 cup (240 ml) (dilutes the vinegar to balance acidity)
- Salt – 1 tablespoon (kosher or pickling salt preferred, avoid iodized to keep clear brine)
- Granulated sugar – 1 teaspoon (optional, softens the sharpness a little)
- Black peppercorns – 1 teaspoon (adds subtle spice)
- Red pepper flakes – 1/4 teaspoon (optional, for a touch of heat)
I recommend using Kirby cucumbers if you can find them; they hold their crunch way better than slicing cucumbers. And fresh dill is a must — dried just doesn’t cut it here. For the salt, I prefer Diamond Crystal kosher salt because it dissolves nicely without clouding the brine. If you want to swap the white vinegar, apple cider vinegar works too but will add a slightly different flavor.
Equipment Needed
- Glass jars with lids: Quart-sized mason jars work great here. I’ve tried smaller jars too, but quart size gives you plenty of room to pack the cucumbers without squishing them.
- Sharp knife: For slicing cucumbers and garlic thinly and evenly.
- Measuring cups and spoons: Precision helps keep that brine balanced every time.
- Mixing bowl: For combining the brine ingredients before pouring over cucumbers.
- Cutting board: A sturdy one makes prep faster and safer.
If you don’t have mason jars, any sealable glass container will do, but I find the jars keep the pickles fresher longer and are easy to store. Also, make sure your knife is sharp — slicing the garlic thinly is key to infusing that flavor without overpowering.
Preparation Method
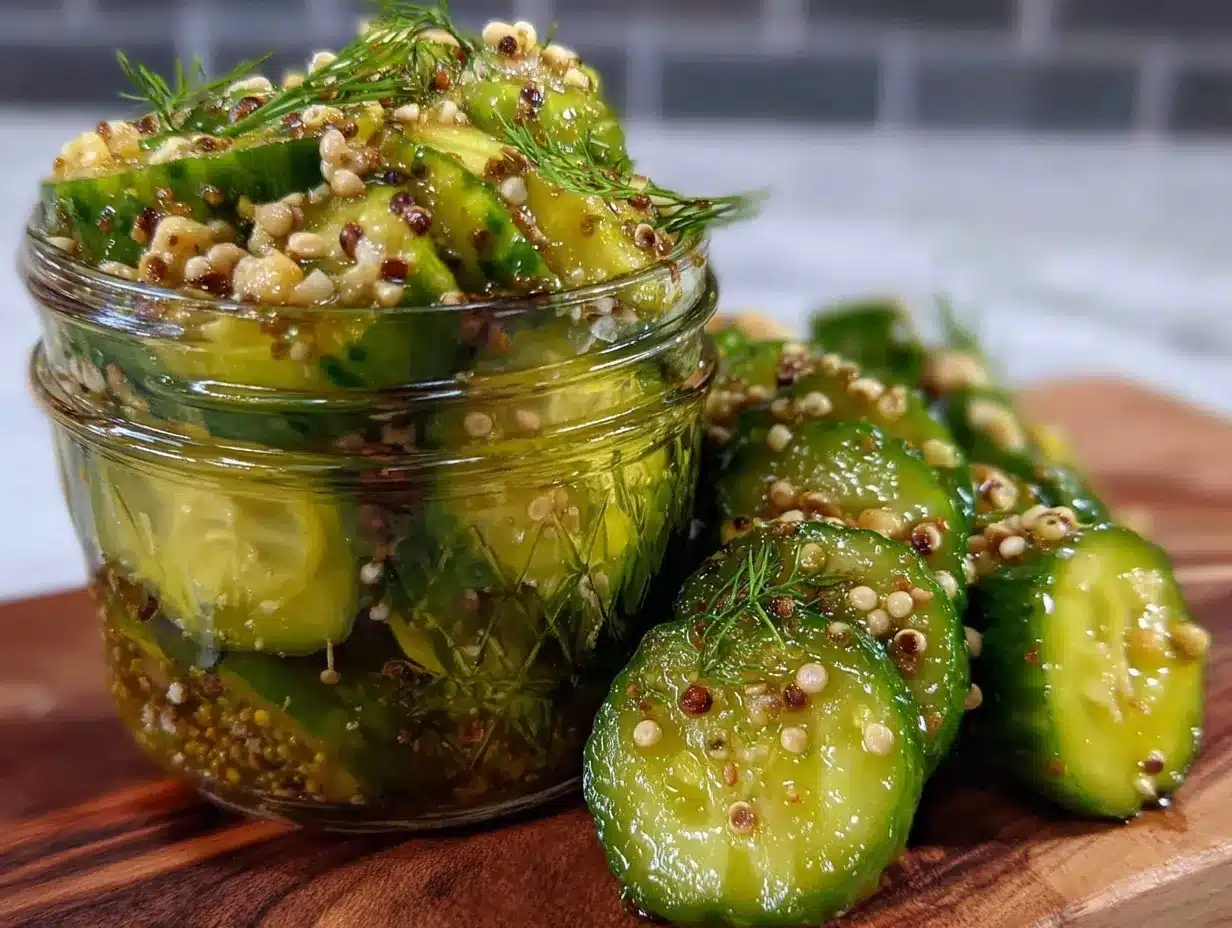
- Prepare the cucumbers: Rinse 1 pound (450 g) of Kirby cucumbers under cold water. Slice them into rounds about 1/4 inch (6 mm) thick or into spears if you prefer. Pat dry with a clean towel to remove excess moisture. (Tip: Drying the cucumbers helps keep them crunchy.) — about 10 minutes
- Slice the garlic: Peel and thinly slice 3 large garlic cloves. Thin slices release more flavor without being overwhelming.
- Make the brine: In a mixing bowl, combine 1 cup (240 ml) white vinegar, 1 cup (240 ml) water, 1 tablespoon kosher salt, and 1 teaspoon sugar. Stir until the salt and sugar dissolve completely. Add 1 teaspoon black peppercorns and 1/4 teaspoon red pepper flakes if using. — 5 minutes
- Pack the jars: Into a clean quart-sized mason jar, add the cucumbers, sliced garlic, and 3 to 4 sprigs of fresh dill. Pack snugly but don’t crush. (Tip: Adding dill last helps it stay bright and fragrant.)
- Pour the brine: Pour the brine over the cucumbers until they’re fully submerged. Leave at least 1/2 inch (1.25 cm) of headspace at the top. Tap the jar gently on the counter to release air bubbles. Seal tightly with the lid.
- Refrigerate: Place the jar in the fridge for at least 24 hours before eating. The pickles will get more flavorful the longer they sit — but after a day they’re perfectly crunchy and tangy.
Note: If your pickles taste too salty or vinegary after 24 hours, you can drain and add fresh water to mellow out the brine. Also, always use clean utensils to remove pickles to keep them fresh longer.
Cooking Tips & Techniques
Getting the perfect crunch and flavor in quick pickles can feel tricky, but a few tips from my kitchen trials can save you the guesswork.
- Use fresh, firm cucumbers: Old or soft cucumbers won’t stay crunchy. Look for ones that snap cleanly when bent.
- Dry your cucumbers well: Excess water dilutes the brine and can make pickles soggy.
- Don’t skip the salt: It’s essential for drawing out moisture and enhancing flavor.
- Thinly slice garlic: Thick chunks can overpower and are harder to eat raw.
- Pack jars tightly but gently: Too tight means crushed pickles; too loose means uneven flavor.
- Use the right salt: Avoid iodized salt which can cloud the brine and add off-flavors.
- Be patient: Though they’re ready in 24 hours, letting pickles sit for 2-3 days intensifies the flavor without losing crunch.
One time, I forgot to dry the cucumbers properly and ended up with a watery jar that tasted dull. Lesson learned — a little extra towel time goes a long way! Also, I like to make a double batch because these pickles disappear fast in my house, especially when paired with a sandwich or salad.
Variations & Adaptations
These quick crunchy garlic dill refrigerator pickles are easy to customize to suit your taste or dietary needs.
- Spicy Pickles: Add more red pepper flakes or a sliced jalapeño to the jar for a fiery kick.
- Low-Sodium Option: Reduce the salt to 1/2 tablespoon and increase refrigeration time for flavor development.
- Herb Variations: Swap dill for fresh tarragon or thyme for a different herbal note.
- Vinegar Swaps: Use apple cider vinegar or white wine vinegar to change the acidity profile.
- Garlic-Free Version: Replace garlic with sliced shallots or onion for a milder taste.
Personally, I once tried adding a teaspoon of mustard seeds and it gave the pickles a subtle earthy depth that was surprisingly good. For a seasonal twist, check out my cucumber mint detox water recipe for a fresh summer pairing that’s hydrating and delicious.
Serving & Storage Suggestions
These pickles are best served chilled straight from the fridge with plenty of crunch and tang. They make a fantastic side for sandwiches, burgers, or grilled dishes. I love pairing them with my cozy slow cooker honey garlic chicken — the sweet and savory chicken with the sharp pickles is a perfect combo.
Store pickles in the refrigerator for up to 3 weeks. The flavor deepens over time, but the texture stays satisfyingly crisp as long as they’re submerged in brine. Reheat? Nah, pickles are best cold or room temperature — warming them will soften the crunch and dull the flavor.
If you’re looking for a light, protein-rich meal alongside these pickles, my quinoa and black bean salad is a great choice. Together, they make a balanced, refreshing meal.
Nutritional Information & Benefits
These quick crunchy garlic dill refrigerator pickles are low in calories — about 10-15 calories per serving — making them a guilt-free snack. They’re naturally gluten-free, low-carb, and vegan.
The cucumbers provide hydration and fiber, while garlic offers antioxidants and immune-boosting properties. Dill adds trace minerals and a burst of flavor without extra calories.
Because they’re refrigerator pickles, they don’t undergo fermentation, so they’re gentle on sensitive stomachs but still deliver that satisfying tang. A smart choice for anyone wanting a flavorful, crunchy snack that fits many diets.
Conclusion
This quick crunchy garlic dill refrigerator pickles recipe has been a simple but reliable joy in my kitchen. It’s proof that good flavor and satisfying texture don’t require hours or complicated steps — just a few fresh ingredients and a little patience. I love how it brings a familiar, comforting snap to snacks and meals alike, always reminding me that some of the best recipes are the ones you can make on a whim.
Feel free to tweak the garlic, spice, or herbs to suit your taste — that’s part of the fun. And if you’re curious to try more simple, flavorful dishes, you might enjoy my crispy teriyaki tofu stir-fry or my Mediterranean chickpea hummus bowls — both perfect for quick, tasty meals.
Thanks for letting me share this recipe with you. I’d love to hear how your pickles turn out or any creative spins you try!
Frequently Asked Questions
How long do refrigerator pickles last?
When stored properly in the fridge, these pickles stay fresh and crunchy for up to 3 weeks.
Can I use regular cucumbers instead of Kirby cucumbers?
You can, but Kirby cucumbers are preferred because they’re firmer and hold crunch better. Regular slicing cucumbers might end up softer.
Do these pickles ferment?
No, refrigerator pickles use vinegar brine and don’t ferment. They’re quick to make and safe to store in the fridge.
Can I make these pickles without garlic?
Yes, you can omit garlic or replace it with sliced shallots or onions for a milder flavor.
Is it necessary to use fresh dill?
Fresh dill gives the best flavor and aroma; dried dill won’t provide the same vibrant taste in this quick pickle recipe.
Pin This Recipe!
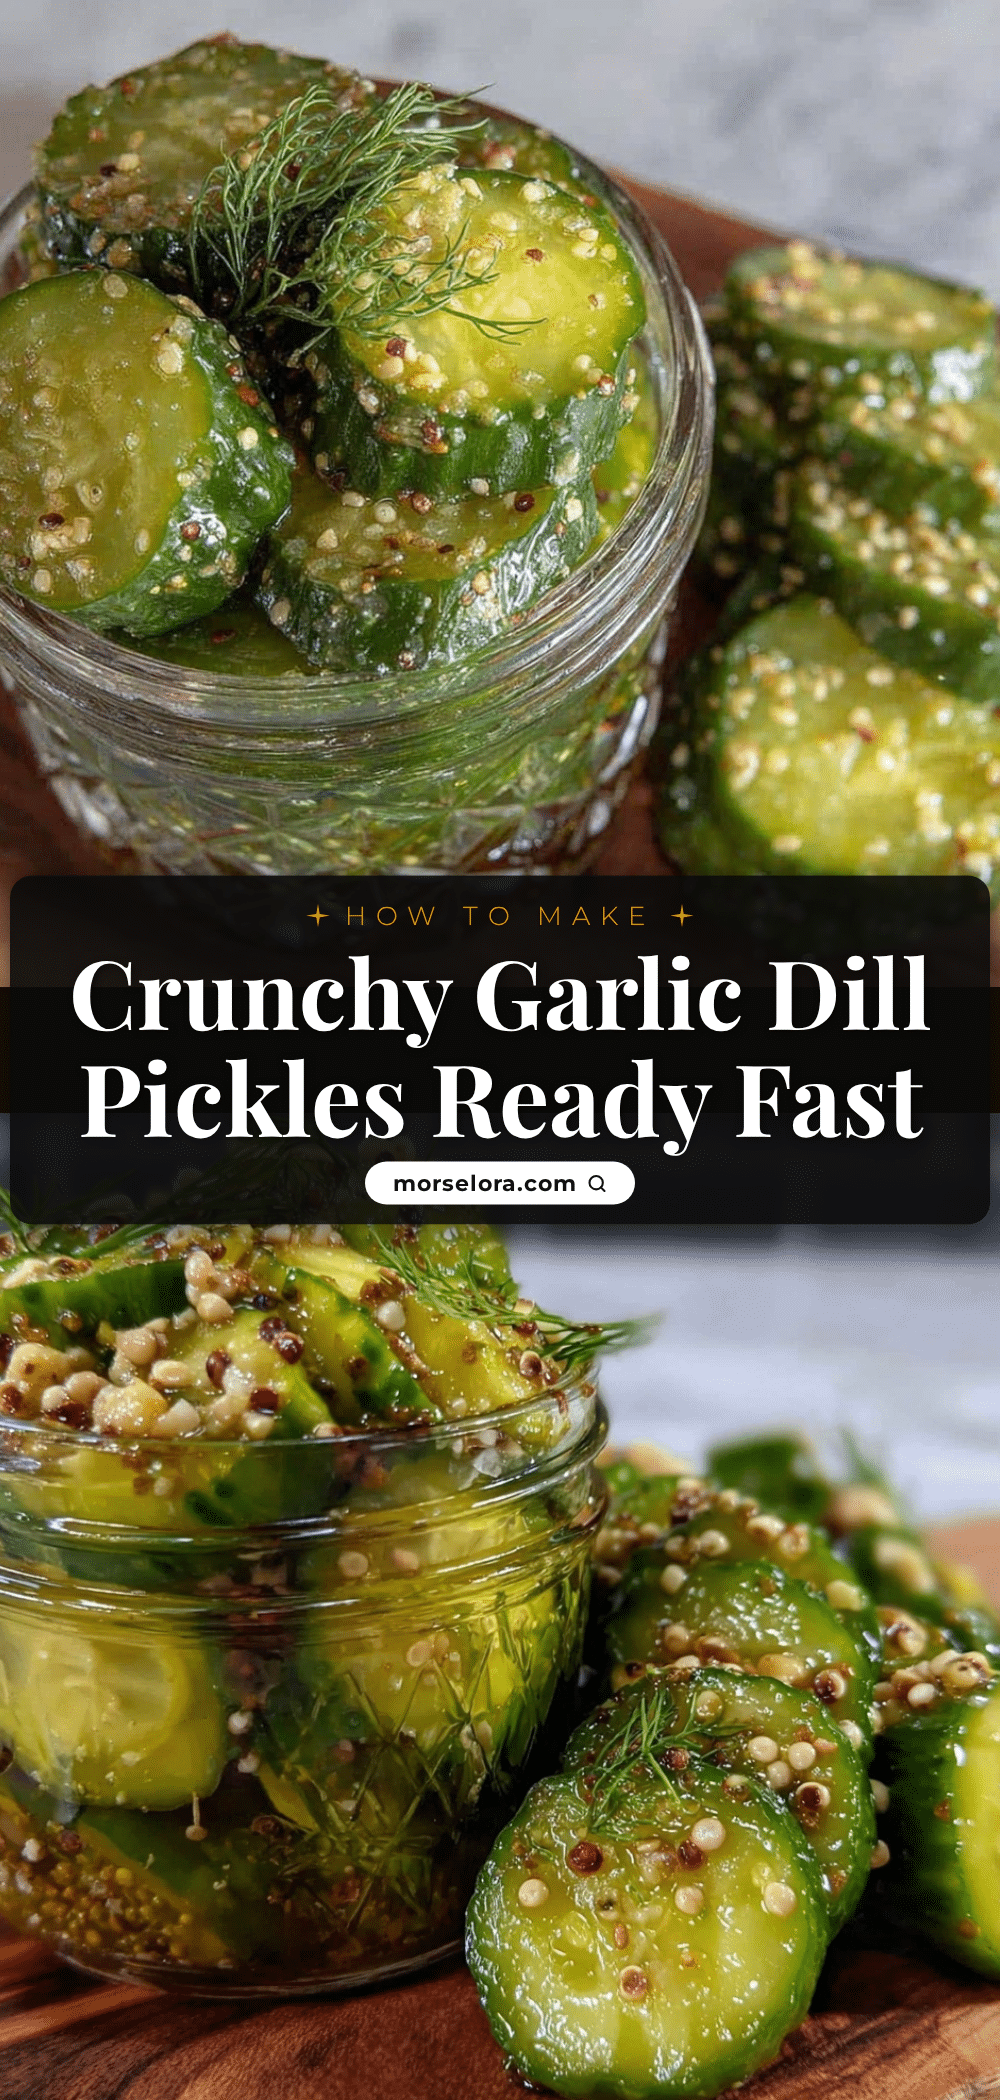
Quick Crunchy Garlic Dill Refrigerator Pickles
A simple and quick recipe for crunchy, tangy garlic dill pickles ready in just 24 hours, perfect for snacks or sides.
- Prep Time: 15 minutes
- Cook Time: 0 minutes
- Total Time: 24 hours
- Yield: 4 servings 1x
- Category: Side Dish
- Cuisine: American
Ingredients
- 1 pound (450 grams) Kirby or pickling cucumbers
- 3 to 4 sprigs fresh dill
- 3 large garlic cloves, thinly sliced
- 1 cup (240 ml) white vinegar
- 1 cup (240 ml) water
- 1 tablespoon kosher or pickling salt
- 1 teaspoon granulated sugar (optional)
- 1 teaspoon black peppercorns
- 1/4 teaspoon red pepper flakes (optional)
Instructions
- Rinse 1 pound (450 g) of Kirby cucumbers under cold water. Slice into 1/4 inch (6 mm) rounds or spears. Pat dry with a clean towel to remove excess moisture.
- Peel and thinly slice 3 large garlic cloves.
- In a mixing bowl, combine 1 cup (240 ml) white vinegar, 1 cup (240 ml) water, 1 tablespoon kosher salt, and 1 teaspoon sugar. Stir until salt and sugar dissolve. Add 1 teaspoon black peppercorns and 1/4 teaspoon red pepper flakes if using.
- Pack cucumbers, sliced garlic, and 3 to 4 sprigs of fresh dill into a clean quart-sized mason jar snugly but without crushing.
- Pour the brine over the cucumbers until fully submerged, leaving at least 1/2 inch (1.25 cm) headspace. Tap jar gently to release air bubbles and seal tightly.
- Refrigerate for at least 24 hours before eating. Flavor intensifies with longer refrigeration.
Notes
Use fresh, firm Kirby cucumbers for best crunch. Dry cucumbers well before pickling to avoid sogginess. Use kosher or pickling salt to keep brine clear. Thinly slice garlic to infuse flavor without overpowering. If pickles taste too salty or vinegary after 24 hours, drain and add fresh water to mellow the brine. Store pickles in the fridge up to 3 weeks. Do not reheat pickles as it softens texture.
Nutrition
- Serving Size: About 1/4 of the jar
- Calories: 1015
- Sugar: 1
- Sodium: 600
- Carbohydrates: 2
- Fiber: 0.5
Keywords: quick pickles, refrigerator pickles, garlic dill pickles, crunchy pickles, easy pickles, homemade pickles