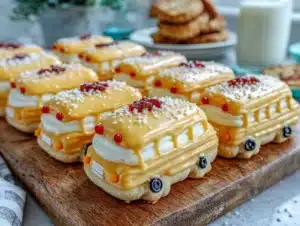
Three-time this week and still the yellow royal icing just won’t sit quite right on the bus windows. The way the edges curl ever so slightly, threatening the crisp lines I’m chasing, is maddening—but honestly, it’s part of the charm now. I started making these Perfect Frosted Back-to-School Bus Sugar Cookies because, well, the first day of school was staring me down, and I wanted something beyond the usual lunchbox note. By the second batch, the kids were hovering, eyes wide and sticky-fingered, while I fussed over piping bags and that perfect shade of sunny yellow.
Every Friday for the past month, these cookies have been my weekend ritual. The scent of vanilla sugar dough baking, mixing that glossy royal icing to just the right thickness, and the satisfying ‘click’ of the icing tip drawing the bus’s windows and wheels—it’s become a slightly manic meditation. I found myself tweaking the icing recipe, adjusting the sugar-to-albumen ratio until the finish was smooth but not too stiff, just like a school bus’s fresh paint job.
What kept pulling me back wasn’t just the cookie itself but the ritual of turning simple sugar and eggs into something that felt like an official send-off for the school year. It’s oddly calming, that focus on tiny details like the little black tires and the bus stop sign. Plus, there’s something quietly joyful about seeing these sunny cookies lined up on the counter, ready to welcome back the chaos and promise of a new school year.
So, if you’re looking for a sweet way to mark the start of classes or just want a fun baking project with a bit of nostalgia and a dash of precision, this recipe might just stick with you the way it did with me. It’s not just a cookie; it’s a little tradition baked in sugar and color, with a hint of obsessive love.
Why You’ll Love This Recipe
This recipe is born out of trial, error, and a bit of borderline obsession, so it’s packed with practical wisdom and a few tricks I’ve picked up along the way. Here’s why these Perfect Frosted Back-to-School Bus Sugar Cookies deserve a spot in your baking lineup:
- Quick & Easy: The dough comes together in under 20 minutes, and the royal icing sets fast enough for same-day decorating—perfect for last-minute school celebrations or weekend baking marathons.
- Simple Ingredients: No need to hunt down weird extracts or specialty flours. This recipe uses pantry staples like unsalted butter, powdered sugar, and egg whites, making it super accessible.
- Perfect for Back-to-School: These cookies are more than a treat—they’re a fun, themed craft that kids love to help decorate. Great for classroom parties or after-school snacks.
- Crowd-Pleaser: Whether it’s little hands or adult sweet tooths, these cookies always get rave reviews for their buttery crumb and sweet, smooth icing.
- Unbelievably Delicious: The balance of crisp edges with a tender center, combined with that glossy royal icing, results in a cookie that’s both fun to look at and satisfying to eat.
What sets this recipe apart is the frosting technique. I’ve dialed in the royal icing consistency so it spreads evenly without bleeding, plus the color formula gives you that iconic school bus yellow that’s bright but not artificial. It’s not just another sugar cookie with icing slapped on—it’s a little edible artwork, and it’s easier to make than you’d expect.
The reason this recipe stuck with me is simple: it’s a way to hold onto that fleeting back-to-school feeling, a quiet moment before the whirlwind begins. Each cookie is a tiny celebration, a reminder of new beginnings baked into something sweet and real.
What Ingredients You Will Need
This recipe uses simple, wholesome ingredients to deliver bold flavor and satisfying texture without the fuss. Most of what you need are pantry staples, and substitutions are easy if you have dietary preferences or allergies.
- For the Sugar Cookie Dough:
- 2 ¾ cups (345g) all-purpose flour — I prefer King Arthur for consistent texture
- 1 teaspoon baking powder
- ½ teaspoon salt
- 1 cup (226g) unsalted butter, softened (adds richness and tenderness)
- 1 ½ cups (300g) granulated sugar
- 1 large egg, room temperature
- 1 ½ teaspoons pure vanilla extract — quality really shines here
- ½ teaspoon almond extract (optional, adds depth to flavor)
- For the Royal Icing:
- 3 large egg whites (for that smooth, glossy finish)
- 4 cups (480g) powdered sugar, sifted (for perfect texture)
- 1 teaspoon lemon juice (helps stabilize the icing and adds brightness)
- Yellow gel food coloring — I recommend AmeriColor’s “Sun Yellow” for vivid, non-runny color
- Black gel food coloring (for wheels and details)
- Optional Decorations:
- Edible markers for fine details
- Small piping bags and various tips for outlining and flooding
- Stand mixer or hand mixer — I’ve found a stand mixer speeds things up, but a sturdy hand mixer works fine for the dough and icing.
- Mixing bowls — at least two, one for dough and one for icing.
- Rolling pin — a silicone one helps prevent sticking without extra flour.
- Cookie cutters shaped like school buses (about 3 to 4 inches long) — you can find these online or at craft stores.
- Baking sheets lined with parchment paper or silicone mats — non-stick surfaces are key to keeping those cookies intact.
- Piping bags and tips — small round tips (#1 or #2) for outlining and flooding the icing, plus a few more for details.
- Toothpicks or scribe tools — essential for smoothing icing and fixing little mistakes.
- Cooling racks — to let cookies cool completely before decorating.
- Make the Dough: In a medium bowl, whisk together 2 ¾ cups (345g) flour, 1 teaspoon baking powder, and ½ teaspoon salt. Set aside.
- Cream Butter and Sugar: In your mixer bowl, beat 1 cup (226g) softened butter with 1 ½ cups (300g) sugar on medium speed until light and fluffy, about 3-4 minutes. This step is crucial for the right cookie texture.
- Add Egg and Extracts: Beat in 1 large egg, 1 ½ teaspoons vanilla extract, and ½ teaspoon almond extract (if using) until combined.
- Combine Wet and Dry: Gradually add the flour mixture to the wet ingredients, mixing on low speed until just combined. Avoid overmixing to keep cookies tender.
- Chill the Dough: Divide dough into two discs, wrap in plastic wrap, and refrigerate for at least 1 hour. Chilling prevents spreading during baking and makes rolling easier.
- Preheat Oven: Set your oven to 350°F (175°C) and line baking sheets with parchment paper.
- Roll and Cut: On a lightly floured surface, roll dough to about ¼ inch (6mm) thickness. Use your bus-shaped cookie cutter to stamp out shapes, transferring them carefully to baking sheets.
- Bake: Bake for 8-10 minutes or until edges just begin to turn golden. Don’t overbake, or the cookies lose that tender chew.
- Cool: Let cookies cool completely on wire racks before decorating. Patience here really pays off!
- Make Royal Icing: In a clean bowl, beat 3 large egg whites with 1 teaspoon lemon juice until frothy. Gradually add 4 cups (480g) sifted powdered sugar, beating until stiff peaks form. Separate a small portion for black details and tint the large portion with yellow gel coloring.
- Outline and Flood: Using a piping bag fitted with a small round tip, outline the bus shapes with thicker yellow icing. Let it crust for 10 minutes, then flood the inside with slightly thinner yellow icing. Use a toothpick to spread evenly and pop air bubbles.
- Add Details: Once the base layer is dry (about 1 hour), pipe black icing for wheels, windows, and bus stop signs. For finer details, edible markers can help with precision.
- Dry: Allow cookies to dry completely at room temperature, ideally overnight, before stacking or packaging.
- Egg Whites Matter: Use fresh, room-temp eggs or pasteurized whites for safety. Cold whites can make the icing curdle or too runny.
- Consistency Is King: The biggest mistake is icing either too thick (won’t spread) or too thin (runs off edges). Test by dragging your finger through the icing; it should smooth out within 10 seconds.
- Patience With Drying: Don’t rush the crusting between outlining and flooding. It creates a dam that keeps colors from bleeding.
- Practice Piping: If you’re new to royal icing, practice on parchment first. It saves a lot of frustration and broken cookies.
- Use a Scribe Tool: A toothpick or scribe tool is your best friend for fixing small bubbles or dragging icing into corners.
- Work Fast: Royal icing dries quickly, so keep your consistency handy and cover bowls with damp towels when not in use.
- Storage Tip: Leftover icing can harden quickly; store in an airtight container with plastic wrap pressed on the surface to keep it usable.
- Dietary Swaps: Use almond flour or a gluten-free blend for the dough to make it gluten-free. For egg-free royal icing, substitute egg whites with meringue powder according to package instructions.
- Seasonal Themes: Change the icing colors to orange and black for Halloween buses or red and green for holiday school buses. You can also swap the bus shape for apples or pencils.
- Flavor Twists: Add lemon zest to the sugar cookie dough for a fresh note, or swap vanilla extract for maple or almond extract for subtle variation.
- Decorating Styles: Instead of royal icing, try a simple glaze with powdered sugar and lemon juice for a less fussy finish, though it won’t have the same crisp edge.
- Personal Variation: I once added tiny candy eyes on the bus windows for a playful, animated look—kids loved that!
For a gluten-free option, swap all-purpose flour with a 1:1 gluten-free baking blend. If you prefer to avoid raw eggs in the royal icing, you can substitute with pasteurized meringue powder mixed per package instructions, though texture might vary slightly.
Seasonally, you could swap yellow for orange or green for a festive twist around fall or holidays, but honestly, the classic yellow just nails that school bus vibe perfectly.
Equipment Needed
If you don’t have piping bags, zip-top bags with a tiny corner snipped work just as well. For cleanup, I like to soak my mixing bowls and tips immediately to keep royal icing from hardening on them, which can be a pain to scrub off later.
Preparation Method
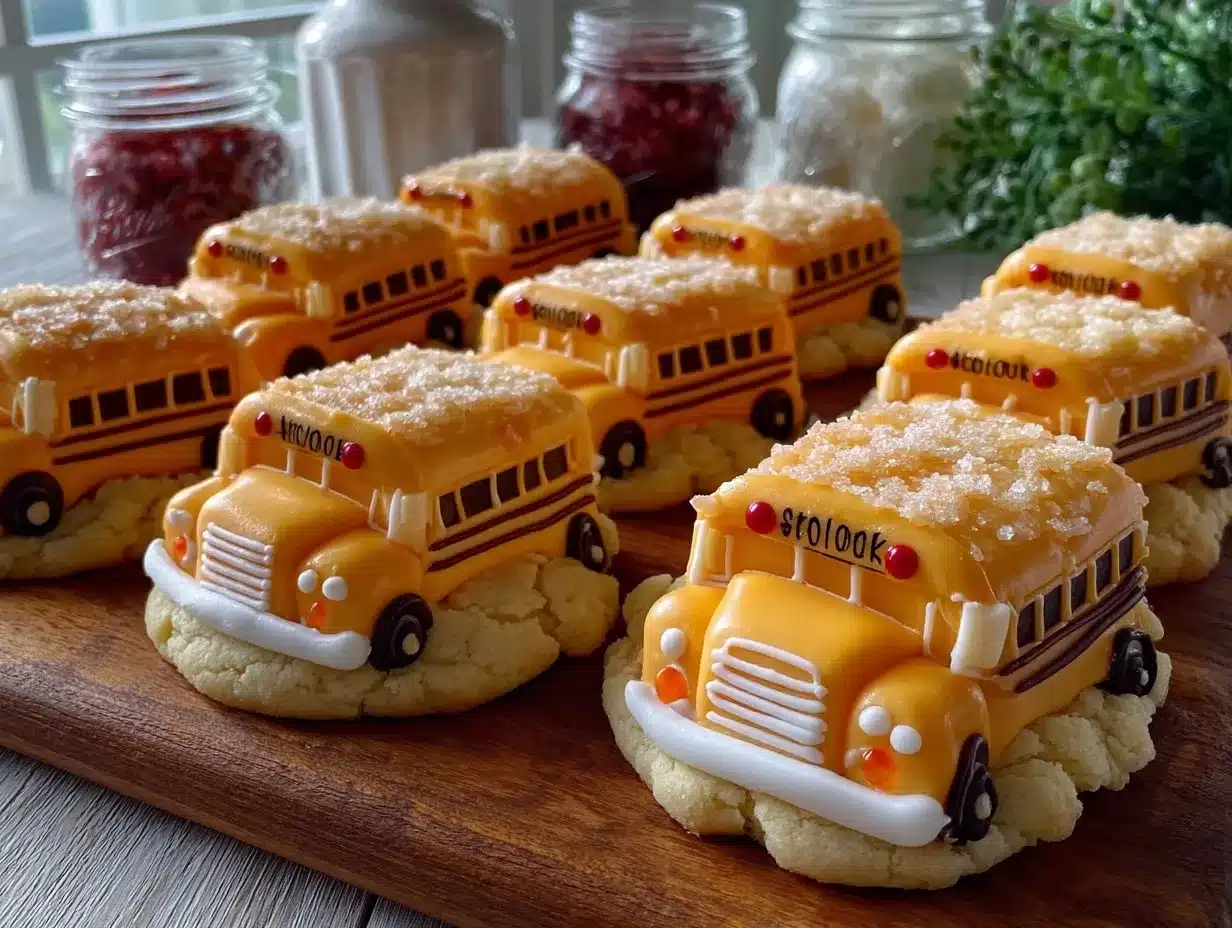
If the icing seems too runny or too stiff at any point, adjust by adding a teaspoon of powdered sugar or a few drops of water. The texture should be like thick honey for flooding, and toothpaste consistency for outlines.
Cooking Tips & Techniques
Getting royal icing right is a bit of an art, but here’s what I learned after multiple batches:
From my experience, one overlooked detail is the temperature and humidity of your kitchen. Icing can behave very differently on a humid day. If it’s sticky, a little more powdered sugar helps. If it’s dry, add a drop of water.
Variations & Adaptations
Even though these cookies are perfect for back-to-school, there’s room to customize:
Serving & Storage Suggestions
These sugar cookies are best served at room temperature, allowing the royal icing to be firm but not brittle. Display them on a bright plate or school-themed tray for that extra cheerful touch.
They pair wonderfully with a cold glass of milk or a simple cup of tea—perfect for an afternoon snack after school. For a little extra fun, serve alongside some fudgy one-bowl zucchini brownies or a cozy slice of brown butter zucchini cake for a sweet school snack spread.
Store these cookies in an airtight container layered with parchment paper to keep them from sticking. They last up to a week at room temperature, but if you want to keep them longer, refrigeration is fine for up to two weeks. Just be sure to bring them back to room temperature before serving for the best texture.
For longer storage, freeze un-iced cookies in a single layer wrapped tightly in plastic. Royal icing cookies don’t freeze well once decorated, as the icing can crack.
Over time, the flavors meld nicely—the vanilla in the cookie deepens, and the icing softens just enough to make each bite a little more tender.
Nutritional Information & Benefits
Each frosted bus cookie roughly contains around 150-180 calories, with 7-9 grams of fat and 20 grams of carbohydrates. These treats are a sweet indulgence, so moderation is key.
Key ingredients like real butter and fresh egg whites add wholesome quality compared to processed alternatives. Using natural extracts instead of artificial flavors enhances the cookie’s aroma and taste without unnecessary chemicals.
This recipe can easily be adapted for dietary needs—gluten-free flour blends for celiacs or meringue powder for those avoiding raw egg whites. While these cookies aren’t health foods, making them from scratch means you control what goes in, avoiding preservatives and artificial colors.
From a wellness perspective, sharing these with family or classmates adds emotional sweetness that no nutrition label can capture—a little joy baked into every bite.
Conclusion
These Perfect Frosted Back-to-School Bus Sugar Cookies with Royal Icing are more than just a recipe—they’re a bit of a ritual, a sweet way to mark those fresh starts and tiny milestones. Whether you’re making them for your kids’ classroom, a party, or just to satisfy that nostalgic urge, there’s a real satisfaction in the process and the final product.
Feel free to tweak the colors, flavors, or decorating style to suit your taste or occasion. I love how this recipe invites creativity while keeping things straightforward enough for bakers of all skill levels.
After all the batches and countless piping attempts, these cookies are a reminder that sometimes the best recipes are the ones you come back to again and again. I hope they bring a little bit of that back-to-school excitement to your kitchen, too.
If you give these a try, I’d love to hear how your cookies turned out or any fun decorating ideas you came up with. Sharing those moments keeps the obsession alive!
FAQs About Perfect Frosted Back-to-School Bus Sugar Cookies
Can I make the cookie dough ahead of time?
Yes! You can prepare the dough up to 3 days in advance. Just wrap it tightly in plastic and keep it refrigerated. Bring it to room temperature before rolling out.
How long does royal icing take to dry?
Typically, the icing crusts over in about 10-20 minutes, but full drying takes several hours or overnight. For best results, let decorated cookies dry overnight at room temperature.
Can I use store-bought cookie cutters for this recipe?
Absolutely! Bus-shaped cutters come in various sizes online or in craft stores. A 3 to 4-inch cutter works well for decorating detail without being too fiddly.
Is it safe to use raw egg whites in royal icing?
Using fresh, properly handled eggs is generally safe, but if you’re concerned, pasteurized egg whites or meringue powder are excellent alternatives that yield similar results.
How do I fix bleeding colors in royal icing?
Make sure each layer is fully dry before adding another color. Also, avoid thinning the icing too much. Patience and correct consistency are key to preventing color bleeding.
Pin This Recipe!
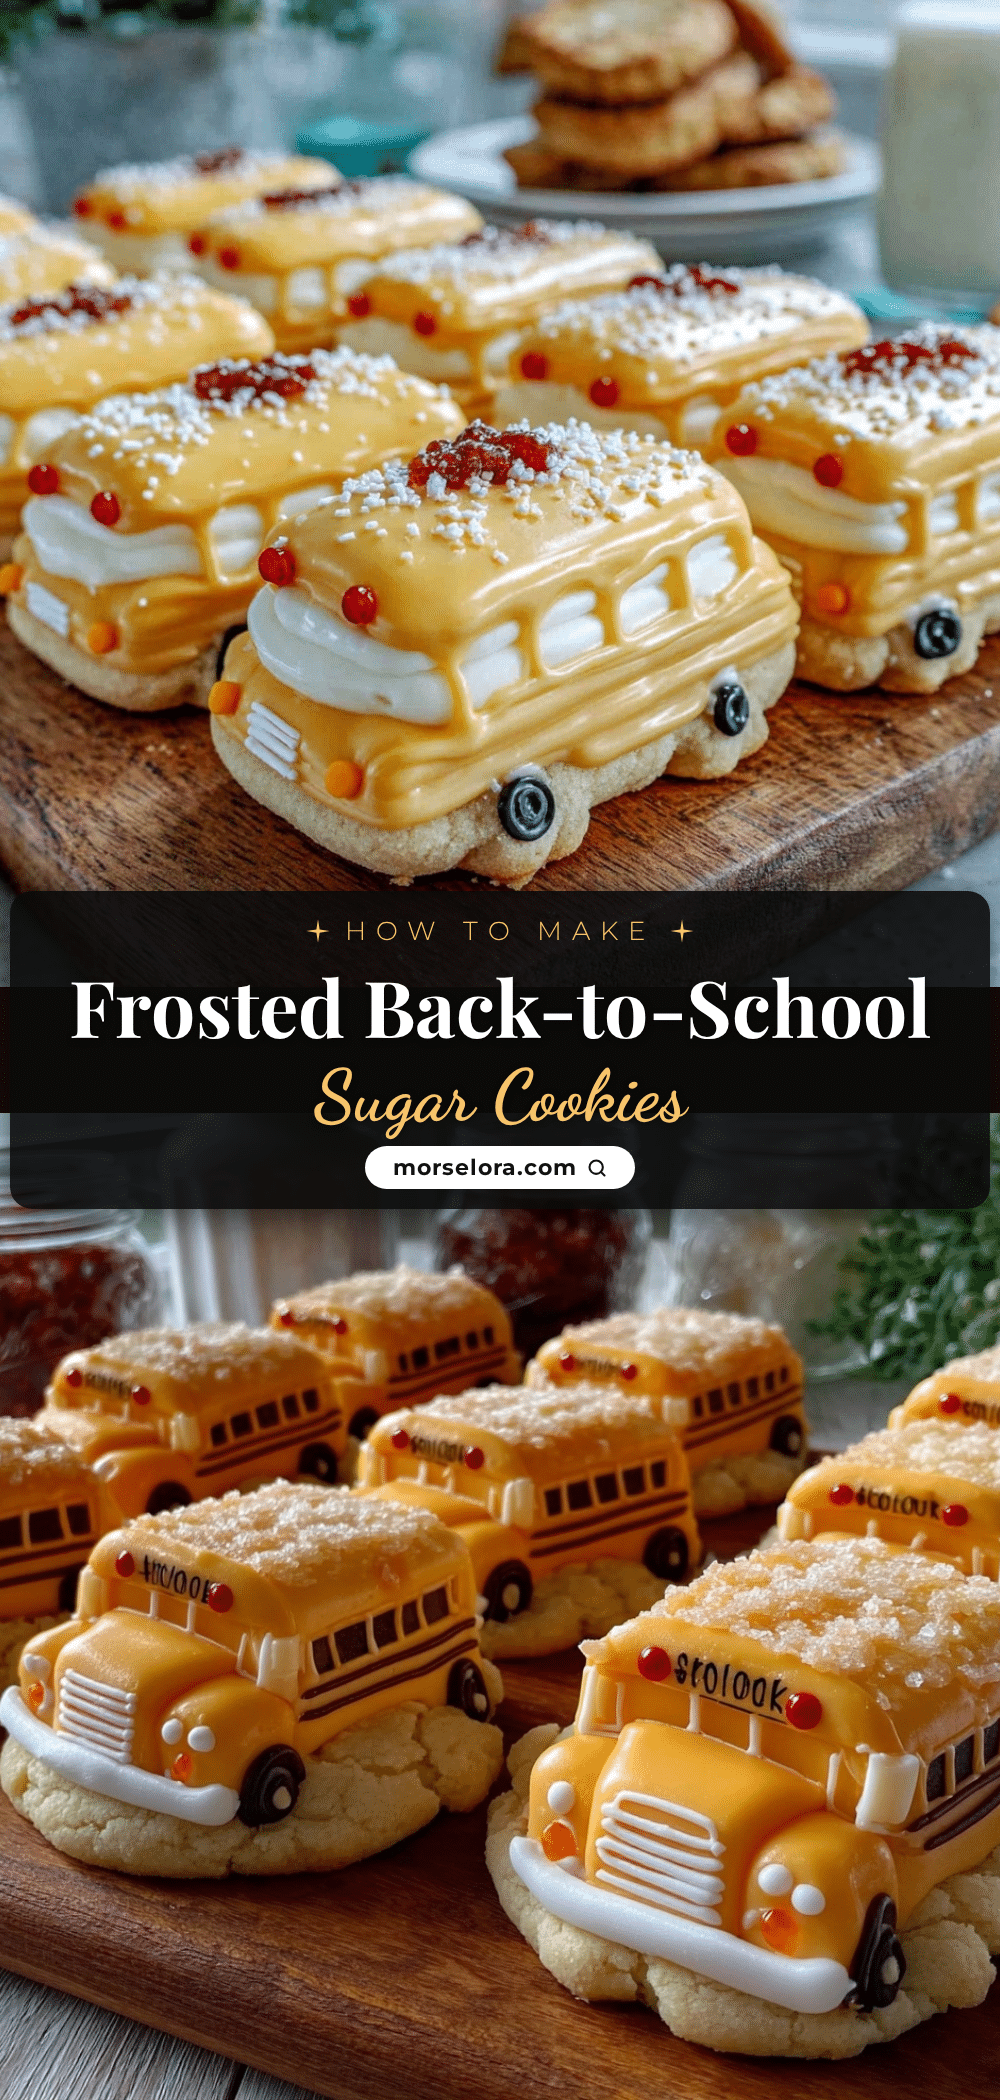
Perfect Frosted Back-to-School Bus Sugar Cookies Easy Royal Icing Recipe
These charming back-to-school bus sugar cookies feature a buttery crumb and smooth royal icing, perfect for classroom parties or after-school snacks. The recipe includes tips for achieving the ideal royal icing consistency and vibrant school bus yellow color.
- Prep Time: 20 minutes
- Cook Time: 10 minutes
- Total Time: 1 hour 30 minutes
- Yield: 24 cookies 1x
- Category: Dessert
- Cuisine: American
Ingredients
- 2 ¾ cups (345g) all-purpose flour
- 1 teaspoon baking powder
- ½ teaspoon salt
- 1 cup (226g) unsalted butter, softened
- 1 ½ cups (300g) granulated sugar
- 1 large egg, room temperature
- 1 ½ teaspoons pure vanilla extract
- ½ teaspoon almond extract (optional)
- 3 large egg whites
- 4 cups (480g) powdered sugar, sifted
- 1 teaspoon lemon juice
- Yellow gel food coloring (AmeriColor Sun Yellow recommended)
- Black gel food coloring
- Optional decorations: edible markers, small piping bags and various tips
Instructions
- In a medium bowl, whisk together flour, baking powder, and salt. Set aside.
- In a mixer bowl, beat softened butter with sugar on medium speed until light and fluffy, about 3-4 minutes.
- Beat in egg, vanilla extract, and almond extract (if using) until combined.
- Gradually add flour mixture to wet ingredients, mixing on low speed until just combined. Avoid overmixing.
- Divide dough into two discs, wrap in plastic wrap, and refrigerate for at least 1 hour.
- Preheat oven to 350°F (175°C) and line baking sheets with parchment paper.
- Roll dough on a lightly floured surface to about ¼ inch (6mm) thickness. Cut shapes with bus-shaped cookie cutter and transfer to baking sheets.
- Bake for 8-10 minutes or until edges just begin to turn golden. Do not overbake.
- Cool cookies completely on wire racks before decorating.
- Make royal icing by beating egg whites with lemon juice until frothy. Gradually add powdered sugar, beating until stiff peaks form.
- Separate a small portion of icing for black details and tint the large portion with yellow gel coloring.
- Outline bus shapes with thicker yellow icing using a piping bag fitted with a small round tip. Let crust for 10 minutes.
- Flood inside with slightly thinner yellow icing, using a toothpick to spread evenly and pop air bubbles.
- Once base layer is dry (about 1 hour), pipe black icing for wheels, windows, and bus stop signs. Use edible markers for finer details if desired.
- Allow cookies to dry completely at room temperature, ideally overnight, before stacking or packaging.
Notes
Use fresh, room-temperature egg whites or pasteurized whites for royal icing safety. Adjust icing consistency by adding powdered sugar or water as needed. Let each icing layer dry fully to prevent bleeding. Store leftover icing in an airtight container with plastic wrap pressed on the surface. Dough can be made up to 3 days ahead and refrigerated. Cookies store up to 1 week at room temperature or 2 weeks refrigerated. Freeze un-iced cookies only.
Nutrition
- Serving Size: 1 cookie
- Calories: 165
- Sugar: 12
- Sodium: 90
- Fat: 8
- Saturated Fat: 5
- Carbohydrates: 20
- Protein: 2
Keywords: back to school cookies, sugar cookies, royal icing, school bus cookies, easy cookie recipe, decorated cookies, kids baking