My partner popped a jar of these crispy overnight refrigerator dill pickles open at dinner and said, “Wow, you nailed it.” I caught myself grinning because honestly, I wasn’t sure how they’d turn out. The sound of that satisfying crunch was the real proof—no fancy canning, no long wait, just fresh, crisp pickles ready in a snap. It was just a simple weeknight, but those pickles changed the mood at the table. The smell of fresh dill mixed with garlic and a hint of vinegar filled the air, making the kitchen feel cozy and a bit like summer, even though it was late fall.
Watching that moment made me realize how much I’d underestimated the power of quick pickling. These aren’t your typical soggy fridge pickles. They’re the kind you can whip up with everyday ingredients, stash in the fridge overnight, and have that perfect balance of tangy, garlicky, and crunchy ready to go whenever the craving hits. It’s like having a jar of sunshine that just happens to pair beautifully with sandwiches, burgers, or even a simple snack on its own.
What’s funny is how this recipe stuck with me because it’s fuss-free but still feels thoughtfully made. I’ve tried a handful of refrigerator pickle recipes before, but the crispness always faded fast – not these. They taste like they’ve been carefully tended, even though they’re really just chilled and waiting. So, if you’ve ever wanted to make pickles without the whole canning ordeal but still want that satisfying crunch and flavor, this recipe might just become your go-to. It’s the kind of thing you don’t realize you need until you hear that first crunch and realize, yep, these pickles are something special.
Why You’ll Love This Recipe
This crispy overnight refrigerator dill pickles recipe has been tested and perfected in my kitchen through a few rounds of trial and error (and a couple of “well, that was soggy” moments). It’s reliable and tasty, making it a staple for quick homemade pickles without a canning setup.
- Quick & Easy: Ready in just one night — perfect for last-minute pickle cravings or when you want fresh pickles but don’t want to wait weeks.
- Simple Ingredients: You probably have everything on hand—fresh cucumbers, dill, garlic, vinegar, and simple spices.
- Perfect for Any Occasion: Whether you’re throwing together a casual lunch, making a picnic spread, or adding a tangy crunch to your dinner, these pickles fit right in.
- Crowd-Pleaser: They’ve been met with enthusiastic nods from friends and family who usually prefer store-bought, which says a lot.
- Unbelievably Delicious: The blend of fresh dill and garlic with the right brine mix creates a flavor profile that’s sharp but balanced, with a texture that stays crisp even after days in the fridge.
What sets this recipe apart is the little trick of using ice water during the prep to keep cucumbers firm and the exact proportion of vinegar and salt that locks in that snap. Plus, no canning means less stress and more time to enjoy your pickles instead of babysitting a hot water bath. Honestly, it’s the kind of recipe that makes you wonder why you ever bought pickles from the store when homemade tastes this fresh and crunchy. And if you want to experiment, you can easily tweak the spices to match your own flavor vibe, which I always find satisfying.
What Ingredients You Will Need
This recipe uses simple, wholesome ingredients that come together to deliver bold flavor and satisfying texture without any complicated steps. Most of these are pantry staples or fresh herbs you can easily find, making it an accessible recipe year-round.
- Fresh Cucumbers – about 4 to 5 medium Kirby cucumbers or Persian cucumbers (small, firm, and perfect for pickling)
- Fresh Dill – 4 to 6 sprigs, washed and roughly chopped (adds that classic pickle aroma and flavor)
- Garlic Cloves – 3 to 4, smashed or thinly sliced (for a nice punch of savory flavor)
- White Vinegar – 1 cup (240 ml) (I use Heinz for consistent acidity)
- Water – 1 cup (240 ml) (cold, to balance the vinegar)
- Pickling Salt or Kosher Salt – 1 tablespoon (table salt can work, but pickling salt dissolves better)
- Granulated Sugar – 1 teaspoon (just a touch to balance acidity)
- Black Peppercorns – 1 teaspoon (whole, for subtle spice)
- Red Pepper Flakes – ¼ teaspoon (optional, if you like a little heat)
- Mustard Seeds – 1 teaspoon (adds a slight tangy bite, but optional)
If fresh dill isn’t available, dried dill weed can be used but fresh really makes a difference in flavor here. For a gluten-free option, all ingredients are naturally gluten-free, so no worries there. If you want to try a different vinegar, apple cider vinegar works, but white vinegar keeps the classic bright flavor.
Equipment Needed
- One large glass jar or Mason jar (at least 1-quart/1-liter size) with a tight-fitting lid — glass is best to avoid any metallic taste and to keep the pickles fresh.
- A sharp knife and cutting board for slicing cucumbers and garlic.
- A measuring cup and spoons for precise brine ingredients.
- A mixing bowl to combine the brine before pouring.
- Optional: a vegetable peeler if you want to peel cucumbers (I usually leave the skin on for extra crunch and nutrition).
If you don’t have a Mason jar, any clean glass container with a lid will do. Just make sure it seals well to keep the pickles crisp. I’ve also found that using a jar with a wide mouth makes packing the cucumbers and adding the brine easier. And a quick tip: rinse your jar in hot water before filling to warm it up slightly—this can help the pickles stay fresher longer.
Preparation Method
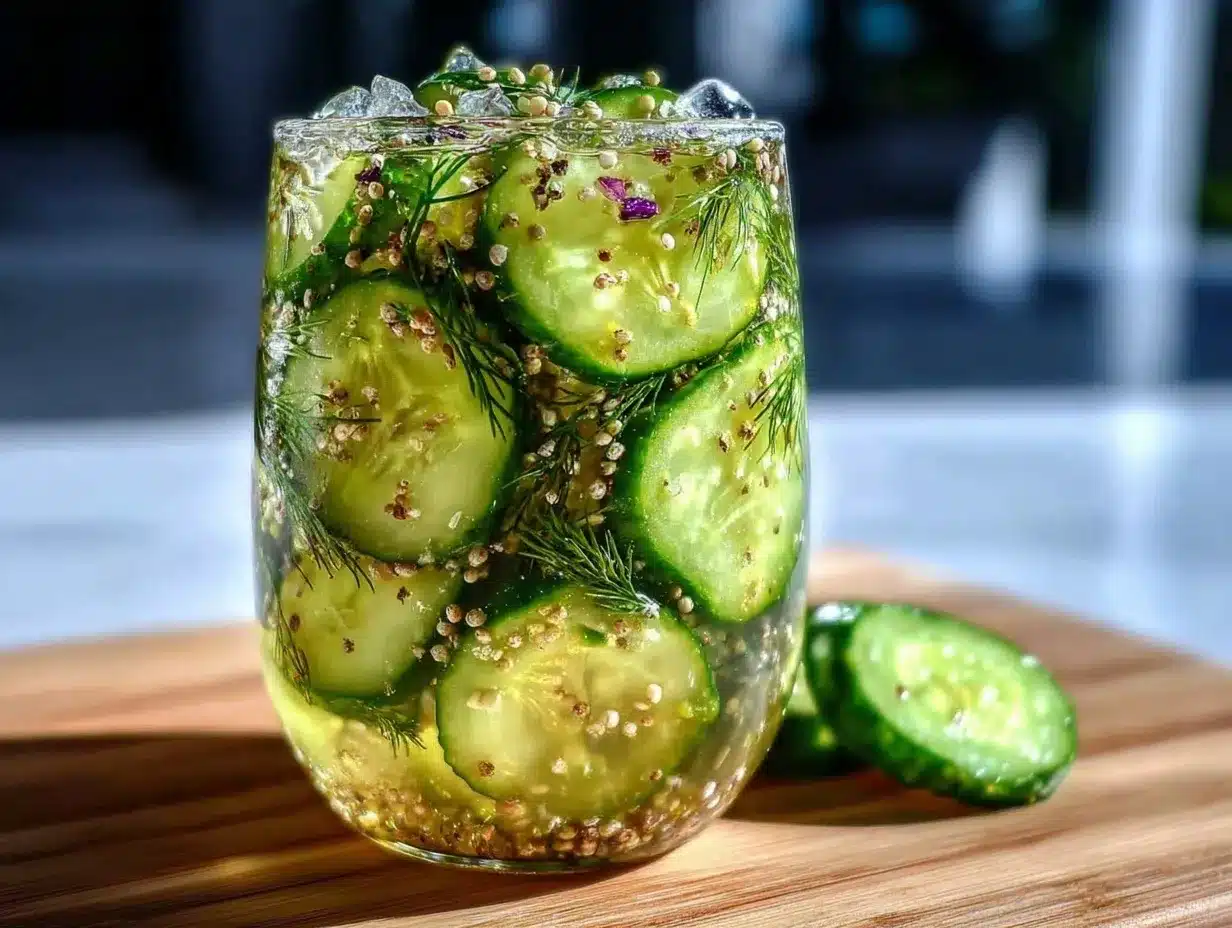
- Wash and Slice the Cucumbers: Rinse 4 to 5 medium Kirby cucumbers thoroughly. Trim off the blossom ends (they contain enzymes that can soften pickles). Slice cucumbers into ¼-inch (0.6 cm) thick rounds or spears, depending on your preference. (About 15 minutes)
- Soak Cucumbers in Ice Water: Place sliced cucumbers in a large bowl filled with ice water. Let them soak for 1 hour—this step really helps keep the cucumbers extra crisp. (1 hour soak, active time: 5 minutes)
- Prepare the Brine: While cucumbers soak, combine 1 cup (240 ml) white vinegar, 1 cup (240 ml) cold water, 1 tablespoon pickling salt, and 1 teaspoon sugar in a bowl. Stir until salt and sugar dissolve completely. Add 1 teaspoon black peppercorns, 1 teaspoon mustard seeds, and optional ¼ teaspoon red pepper flakes. (5 minutes)
- Pack the Jar: Drain cucumbers from ice water and pat dry with a clean towel to remove excess moisture. Layer the cucumbers into your prepared glass jar, tucking in 4 to 6 sprigs of fresh dill and 3 to 4 smashed garlic cloves evenly throughout. (10 minutes)
- Pour the Brine: Pour the brine over the cucumbers and herbs, making sure everything is fully submerged. Leave about ½ inch (1 cm) of headspace at the top of the jar. (2 minutes)
- Seal and Refrigerate: Close the jar tightly and place it in the refrigerator. Let the pickles chill overnight (at least 12 hours) for the flavors to meld and the cucumbers to soak up that garlicky, dill-infused tang. (Overnight)
- Enjoy: After chilling, your crispy overnight refrigerator dill pickles are ready to eat! They’ll keep fresh and crunchy in the fridge for up to 2 weeks, but honestly, they rarely last that long. (Immediate enjoyment)
If you ever find your pickles less crisp than expected, a quick tip is to add a grape leaf or a couple of bay leaves to the jar next time—some swear by tannins in leaves to keep pickles firm. Also, avoid overfilling the jar or letting cucumbers float above the brine, as that can lead to uneven pickling.
Cooking Tips & Techniques
Making crispy refrigerator pickles can feel straightforward, but a few insider tips can make all the difference in texture and taste. First off, the ice water soak is a game-changer. I learned this trick after a batch turned out limp, and soaking the cucumbers in ice water before pickling revived that satisfying crunch every time.
Don’t skip trimming the blossom ends. It’s a small step that can prevent softening enzymes from sneaking into your pickles, keeping them firm longer. Also, use pickling salt instead of table salt when possible. The fine texture dissolves better and doesn’t cloud your brine.
Patting cucumbers dry after soaking helps the brine stick better and keeps the jar from getting diluted. When layering garlic and dill, try to distribute them evenly so every bite has that burst of flavor. If you want your pickles spicier, add extra red pepper flakes or even a fresh sliced jalapeño.
One mistake I made early on was sealing the jar and shaking it immediately. Instead, pour the brine gently to avoid bruising cucumbers, then seal and refrigerate without shaking. This keeps the veggies intact and the brine clear. Lastly, patience is your friend here—overnight is the minimum, but if you can wait 24 hours, the flavor deepens beautifully.
Variations & Adaptations
This recipe is a great base for all sorts of pickle adventures. Here are some easy ways to make it your own:
- Garlic & Herb Twist: Add fresh thyme or rosemary alongside dill for a fragrant herbal note.
- Spicy Pickles: Include sliced jalapeños or a few dried chili peppers for a serious kick.
- Sweet & Tangy: Double the sugar to 2 teaspoons and add a cinnamon stick for a sweeter profile that’s great with cheese boards.
- Quick Bread-and-Butter Style: Swap half the vinegar with apple cider vinegar and add sliced onions and mustard seeds for a milder, sweeter pickle.
- Low-Sodium Option: Reduce salt by half and add more garlic and dill to boost flavor without extra sodium.
Personally, I once tossed in some fresh mint leaves along with dill and found it gave the pickles a surprising fresh pop that paired wonderfully with grilled meats. For a different texture, slicing cucumbers into spears instead of rounds changes the eating experience, especially when packed in sandwiches or burgers like the ones I sometimes serve with my cozy brown butter zucchini cake—the tangy crunch is a perfect contrast!
Serving & Storage Suggestions
These crispy overnight refrigerator dill pickles shine when served cold straight from the fridge. Pop open the jar and grab them as a crunchy side to burgers, sandwiches, or even alongside a cozy bowl of soup. They’re especially fantastic with anything grilled or barbecued—think pulled pork or grilled chicken.
If you want to get a little fancy, serve them on a charcuterie board with sharp cheeses, cured meats, and some crusty bread. The bright acidity and crisp texture cut through rich flavors beautifully. For a casual snack, pair them with a cold beer or a refreshing cucumber mint detox water like the one I wrote about before.
Store the pickles in the refrigerator with the lid tightly sealed. They’ll stay crisp and flavorful for up to two weeks, though I rarely get to two weeks myself. Over time, the flavors deepen and the pickles become tangier, but the crunch holds up well thanks to the prep method. If you find your pickles softening after a few days, try draining the brine and adding fresh vinegar and salt solution—this can sometimes revive the crispness.
When reheating dishes that include pickles, like a grilled sandwich, add fresh pickles after cooking to maintain that satisfying crunch. They’re best enjoyed fresh and cold, but they can also be chopped and tossed into salads or potato salad for an extra zing.
Nutritional Information & Benefits
These refrigerator dill pickles are low in calories—about 5 to 10 calories per large slice—and naturally fat-free. They provide a small dose of vitamin K from fresh dill, which supports healthy blood clotting and bone health. Cucumbers themselves are hydrating and contain antioxidants, making this a refreshing, guilt-free snack.
Because this recipe uses simple vinegar and salt with no added preservatives, it’s a wholesome alternative to many store-bought pickles that contain additives. Plus, the garlic offers immune-boosting properties and adds a savory depth. For those watching sodium intake, adjusting the salt amount is easy to do here.
Gluten-free, vegan, and paleo-friendly, these pickles fit a range of dietary preferences. The quick pickling process preserves the fresh crunch and brightness, making them a great way to enjoy fresh cucumbers beyond just salads or snacking.
Conclusion
Crispy overnight refrigerator dill pickles are one of those recipes that make you wonder why you ever settled for the jarred stuff. They’re fast, simple, and ridiculously satisfying—no canning, no fuss, just pure pickle goodness ready when you are. I love how they add a bright, crunchy twist to everyday meals without any complicated prep.
Feel free to adjust the spices or heat level to suit your taste buds. Personally, I keep coming back to this recipe because it’s dependable and fresh, and it pairs perfectly with lots of dishes (like my favorite crispy teriyaki tofu stir-fry). It’s an easy way to bring a little homemade charm to your kitchen without spending hours.
If you try it, I’d love to hear how you make it your own—drop your tweaks or favorite pairings in the comments below. Here’s to many crunchy snacking moments ahead!
Frequently Asked Questions (FAQs)
How long do these refrigerator pickles last?
They keep well in the fridge for up to 2 weeks, staying crisp and flavorful. After that, they may soften but are still tasty.
Can I use regular cucumbers instead of Kirby cucumbers?
Yes, but Kirby cucumbers are preferred because they’re firmer and less watery, which helps keep pickles crispy.
Do I have to use fresh dill?
Fresh dill is best for flavor and aroma, but dried dill can be substituted in a pinch, though the taste won’t be as vibrant.
Can I make these pickles without garlic?
Absolutely! Garlic adds depth, but if you’re not a fan, simply leave it out or replace it with a small amount of onion slices.
Is there a way to make these pickles spicier?
Yes, adding extra red pepper flakes or fresh sliced jalapeños to the brine will give your pickles a nice spicy kick.
Pin This Recipe!
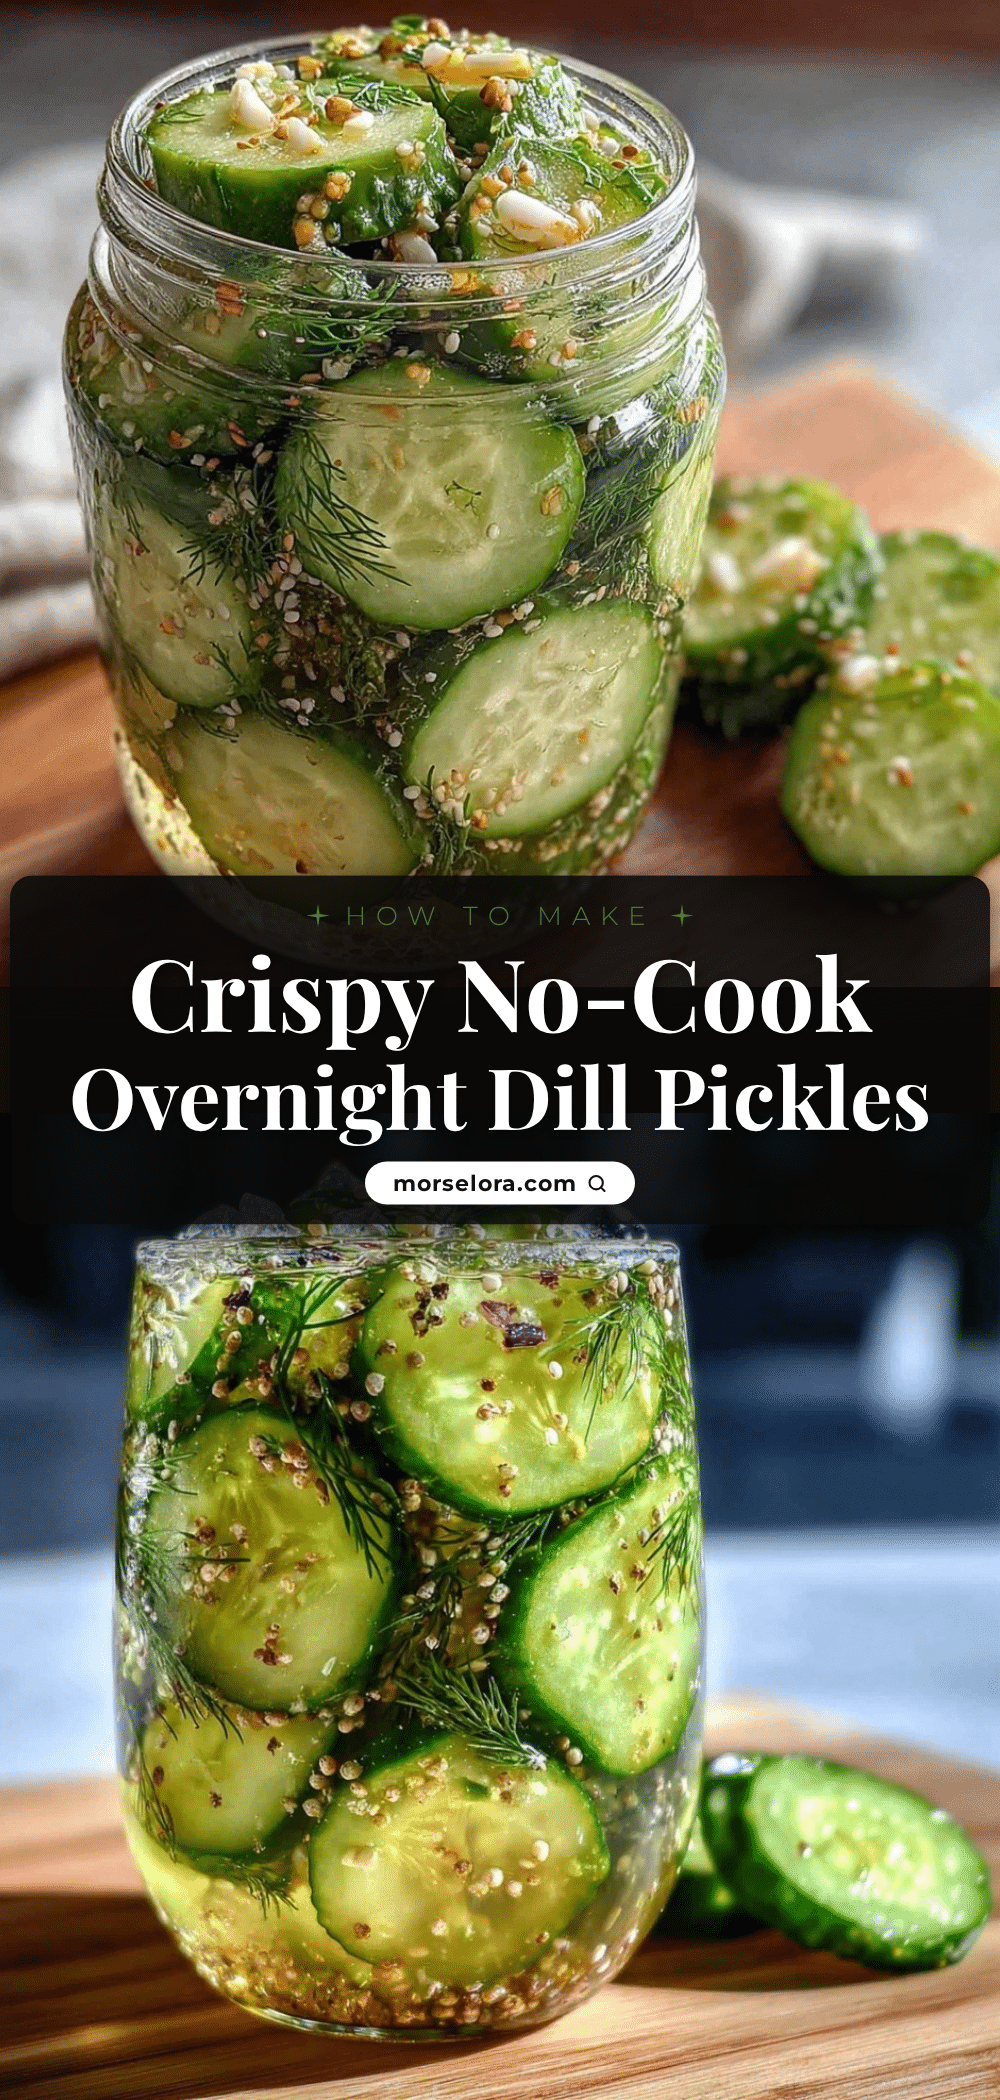
Crispy Overnight Refrigerator Dill Pickles
A quick and easy recipe for fresh, crunchy dill pickles made without canning. Ready overnight, these pickles offer a perfect balance of tangy, garlicky flavor and satisfying crunch.
- Prep Time: 20 minutes
- Cook Time: 0 minutes
- Total Time: 12 hours 20 minutes
- Yield: 4 to 5 cups of pickles (about 4 servings) 1x
- Category: Condiment
- Cuisine: American
Ingredients
- 4 to 5 medium Kirby cucumbers or Persian cucumbers
- 4 to 6 sprigs fresh dill, washed and roughly chopped
- 3 to 4 garlic cloves, smashed or thinly sliced
- 1 cup (240 ml) white vinegar
- 1 cup (240 ml) cold water
- 1 tablespoon pickling salt or kosher salt
- 1 teaspoon granulated sugar
- 1 teaspoon whole black peppercorns
- ¼ teaspoon red pepper flakes (optional)
- 1 teaspoon mustard seeds (optional)
Instructions
- Wash and slice the cucumbers into ¼-inch thick rounds or spears, trimming off the blossom ends. (About 15 minutes)
- Soak the sliced cucumbers in a large bowl filled with ice water for 1 hour to keep them extra crisp. (Active time: 5 minutes)
- Prepare the brine by combining white vinegar, cold water, pickling salt, and sugar in a bowl. Stir until salt and sugar dissolve. Add black peppercorns, mustard seeds, and optional red pepper flakes. (5 minutes)
- Drain cucumbers from ice water and pat dry with a clean towel to remove excess moisture.
- Layer the cucumbers into a large glass jar, tucking in fresh dill sprigs and smashed garlic cloves evenly throughout. (10 minutes)
- Pour the brine over the cucumbers and herbs, ensuring everything is fully submerged. Leave about ½ inch of headspace at the top of the jar. (2 minutes)
- Seal the jar tightly and refrigerate overnight (at least 12 hours) to allow flavors to meld and cucumbers to soak up the brine.
- After chilling, enjoy your crispy refrigerator dill pickles. They keep fresh and crunchy in the fridge for up to 2 weeks.
Notes
Use ice water soak to keep cucumbers crisp. Trim blossom ends to prevent softening. Use pickling salt for better brine clarity. Pat cucumbers dry before packing to avoid diluting brine. Avoid shaking jar after pouring brine to keep cucumbers intact. For extra crispness, add a grape leaf or bay leaves to the jar. Flavor improves if pickles chill for 24 hours instead of just overnight.
Nutrition
- Serving Size: About 1 cup of pickl
- Calories: 510
- Sugar: 0.5
- Sodium: 400
- Carbohydrates: 1
- Fiber: 0.3
- Protein: 0.2
Keywords: refrigerator pickles, dill pickles, quick pickles, no canning, easy pickles, crunchy pickles, homemade pickles