Late October evenings, when the air feels crisp and the sky dims early, and the only thing I want is a little mischievous sweetness that feels just right for the season. The kitchen lights are low, the shadows longer, and somewhere in the quiet, I’m assembling layers of chocolate pudding, crushed Oreos, and gummy worms that look like they’ve just crawled out of a haunted garden. This recipe for Delicious Graveyard Dirt Cup Pudding Desserts with Oreo Crumble belongs to those slow, deliberate moments before Halloween, when simple treats become tiny rituals—fun, a little creepy, but mostly comforting.
There’s something quietly satisfying about spooning together this dessert. It’s not meant for show-offs or grand gestures but for the cozy, slightly silly joy of indulging in a playful snack that tastes like childhood memories mixed with grown-up chocolate cravings. The Oreo crumble adds a gritty texture that feels like dirt under your fingernails, a detail that makes all the difference. Honestly, it’s the kind of recipe that sticks with you because it’s easy, nostalgic, and just a bit wicked in the best way.
Each time I make this, I remember how the crushed cookies and creamy pudding settle into a perfect balance—dark, sweet, and a little mysterious. It’s not just dessert; it’s a quiet nod to a season full of stories and shadows. And if you ask me, that’s why these Graveyard Dirt Cup Pudding Desserts with Oreo Crumble have become a staple recipe in my kitchen, year after year.
Why You’ll Love This Recipe
I’ve tested this recipe more times than I care to admit, and it always delivers that perfect combination of textures and flavors. Here’s why this Delicious Graveyard Dirt Cup Pudding Desserts with Oreo Crumble recipe stands out:
- Quick & Easy: Comes together in about 15 minutes, making it perfect for last-minute party treats or a fun weeknight dessert.
- Simple Ingredients: No obscure items here—just classic pudding, Oreos, and gummy worms. You probably already have everything in your pantry.
- Perfect for Halloween Parties: The spooky theme makes it a hit with kids and adults alike, without the fuss of complicated baking.
- Crowd-Pleaser: Every time I bring these, I get requests for the recipe — the crunchy Oreo crumble and creamy pudding combo is a winner.
- Unbelievably Delicious: The texture contrast between smooth pudding and crumbly “dirt” feels indulgent but fun, hitting just the right note of comforting sweetness.
This isn’t your average pudding cup. The trick is in the Oreo crumble—crushed just enough to mimic real dirt but with a rich, chocolatey flavor that’s unmistakable. Plus, layering the pudding and crumbs creates a little surprise in every bite. I’ve even swapped in different pudding flavors or added a touch of cinnamon to the crumble for a subtle twist that’s worth trying. Honestly, this recipe feels like comfort food wrapped in whimsy, and it’s become my go-to for Halloween gatherings and cozy nights when I want something a bit playful.
What Ingredients You Will Need
This recipe uses simple, wholesome ingredients that come together without fuss but still pack a punch in flavor and texture. Most are pantry staples, and substitutions are easy if you have dietary preferences.
- Instant Chocolate Pudding Mix (1 package, about 3.9 oz / 110 g) – the backbone of the creamy layer. I prefer brands like Jell-O or store brands that set up firm but silky.
- Milk (2 cups / 480 ml) – whole milk gives the best texture, but 2% works fine, or use almond milk for a dairy-free twist.
- Oreo Cookies (about 20 cookies) – crushed to create the dirt crumble. Use regular Oreos, or for a less sweet option, try the reduced-fat version.
- Gummy Worms (1 small bag, about 3 oz / 85 g) – for that playful graveyard touch. You can swap for sour gummy candies if you prefer a tangier bite.
- Optional: Whipped Cream (for topping) – adds a light, airy finish if you want a little extra indulgence.
When selecting Oreos, I usually go for the classic kind with the cream filling intact. Crushing them by hand gives you more control over the size – some bigger chunks, some finer crumbs – which makes the “dirt” feel more authentic. If Oreos aren’t your thing, chocolate sandwich cookies with a similar texture can work just as well.
For an extra touch, a pinch of cinnamon or a hint of espresso powder mixed into the pudding can deepen the flavor, especially if you’re serving adults. And if you want to keep it vegan, the vegan chocolate avocado pudding from the site is a fantastic base to try instead.
Equipment Needed
- Mixing Bowls: At least two—one for the pudding and one for crushing the Oreos. Glass or stainless steel works best.
- Whisk: For mixing the pudding smoothly. A hand whisk is fine, but an electric mixer can speed things up.
- Measuring Cups and Spoons: Accuracy helps the pudding set perfectly.
- Spatula or Spoon: For folding and layering ingredients gently.
- Serving Cups: Clear plastic or glass cups work well to show off the layers. I like using mason jars for a rustic vibe.
- Food Processor or Zip-top Bag and Rolling Pin: To crush the Oreos. If you don’t have a processor, just place cookies in a bag and bash gently with a rolling pin or heavy pan.
In my experience, the type of bowl you use matters—glass bowls keep the pudding cool while you’re working, which helps it set better. Also, investing in a good whisk makes mixing pudding less of a chore. For budget-friendly options, simple plastic cups from the dollar store do the job just fine for serving.
Preparation Method
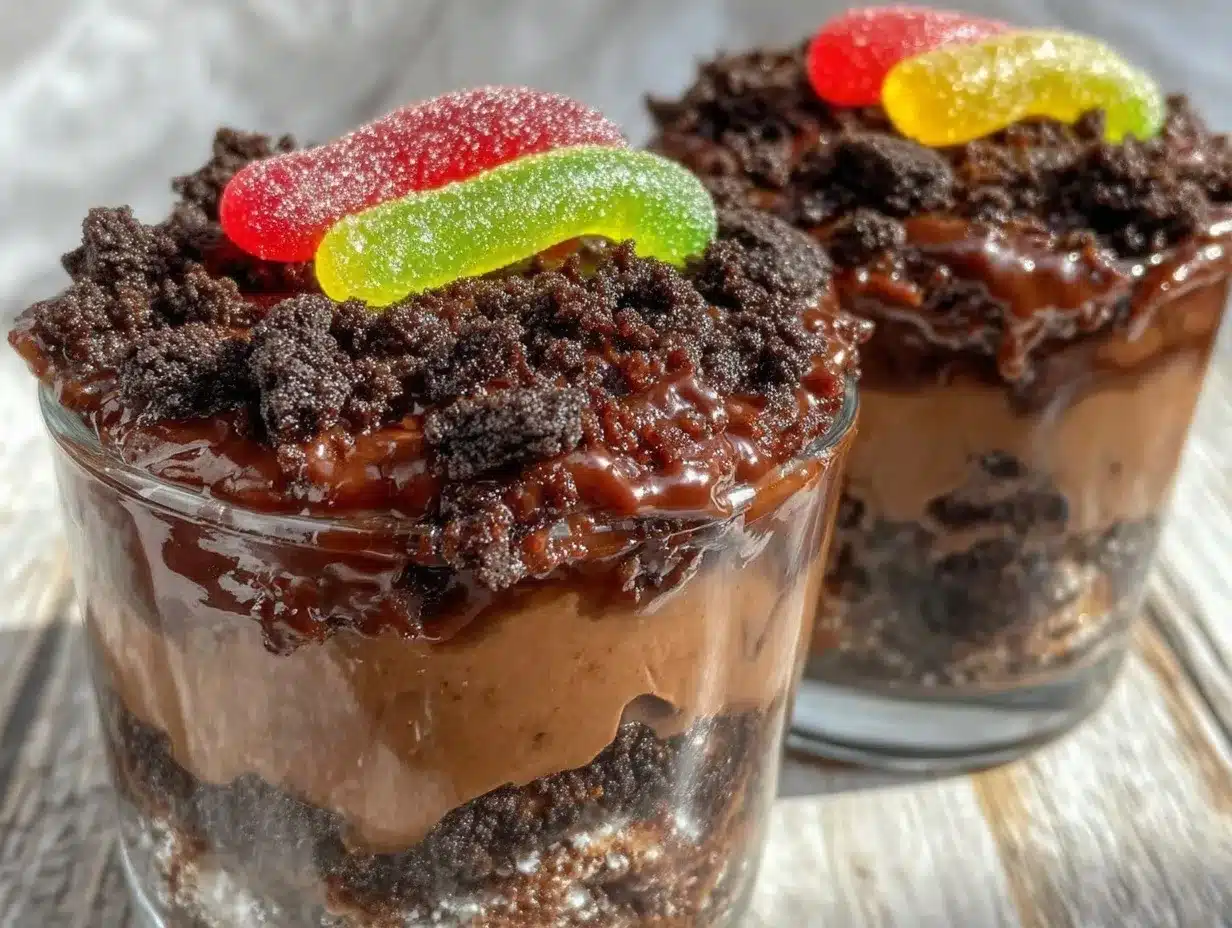
- Prepare the Pudding: In a mixing bowl, whisk together the instant chocolate pudding mix and 2 cups (480 ml) of cold milk. Whisk for about 2 minutes until the mixture thickens. You want it to be smooth and creamy but not too stiff. Set aside for 5 minutes to fully set.
- Crush the Oreos: Place about 20 Oreo cookies into a zip-top bag. Seal it tightly and use a rolling pin or heavy pan to crush them into a mix of fine crumbs and small chunks. Aim for a texture that resembles dirt—some variety in size is good here for authenticity.
- Layer the Cups: Start by spooning about 2 tablespoons (30 g) of Oreo crumbs into the bottom of each serving cup. This base layer acts like soil.
- Add the Pudding: Carefully spoon 1/4 cup (60 ml) of the prepared chocolate pudding over the crumb layer. Smooth it gently to cover the “dirt.”
- Repeat Layers: Add another 2 tablespoons of Oreo crumbs on top of the pudding, followed by another 1/4 cup of pudding. Depending on the cup size, you might have room for 2 to 3 layers total.
- Top with Gummy Worms: Place a few gummy worms on top, letting them peek out of the “dirt.” For extra effect, you can partially bury some worms in the top Oreo layer.
- Optional Whipped Cream: Add a dollop of whipped cream on top, if you like, to soften the look and add creaminess.
- Chill: Refrigerate the assembled cups for at least 30 minutes before serving. This gives the pudding time to firm up and the flavors to meld.
Watch out when layering so you don’t press the crumbs too hard—they should feel loose and crumbly, not packed down. If your pudding seems too loose, a quick extra whisk or a little more chilling usually helps. And if you’re prepping ahead, assembling everything a few hours in advance is no problem; just add the gummy worms fresh to keep them from getting sticky.
Cooking Tips & Techniques
For the best results, here are some tips I’ve picked up over time making these Delicious Graveyard Dirt Cup Pudding Desserts with Oreo Crumble:
- Whisk Well: Whisk the pudding mix vigorously for a smooth texture. Skimping here can leave lumps, which kills the creamy mouthfeel.
- Chill Ingredients: Cold milk helps the pudding set properly. I keep my milk in the fridge until the last moment.
- Control Crumble Size: When crushing Oreos, aim for varied sizes. Too fine and it feels like dust; too chunky and it won’t layer well.
- Layer Carefully: Use a spoon or small spatula to avoid mixing layers. A little messiness is okay, but too much blending loses the “dirt cup” effect.
- Timing for Gummy Worms: Add gummy worms last to prevent them from melting into the pudding or sticking too much.
- Multitask: While pudding sets, crush Oreos and prep cups. This saves time and keeps things moving smoothly.
One time, I forgot to chill the pudding before layering, and the crumbs sank right through. Lesson learned: patience is key. Also, if you want a cleaner presentation, pipe the pudding with a zip-top bag with a corner cut off—that trick helps keep the layers neat without fuss.
Variations & Adaptations
This recipe is flexible and can be twisted to suit different tastes or dietary needs. Here are some ideas I’ve tried or thought about:
- Flavor Swaps: Use vanilla or butterscotch pudding instead of chocolate for a lighter take. White chocolate Oreos make for a fun crumb variation.
- Gluten-Free: Substitute crushed gluten-free chocolate sandwich cookies for the Oreo crumble. Be sure the pudding mix is gluten-free too.
- Vegan Version: Use a vegan pudding mix or make your own with coconut milk and agar agar. Swap Oreos for certified vegan cookies and gummy worms for vegan-friendly candies.
- Seasonal Twists: Add a layer of fresh berries or pumpkin spice for fall vibes. I once stirred a bit of cinnamon into the crumble for an autumnal touch.
- Cooking Method Adjustments: This is a no-bake recipe, but you could bake a chocolate crust base (like a brownie layer) for a more substantial dessert cup.
My personal favorite variation is mixing a bit of espresso powder into the pudding—gives it a subtle mocha note that pairs beautifully with the Oreo crumble. I also love making mini versions for parties, using small shot glasses for a fun, bite-sized treat.
Serving & Storage Suggestions
Serve these Delicious Graveyard Dirt Cup Pudding Desserts chilled, straight from the fridge. The contrast between cold pudding and chewy gummy worms is just right. For presentation, clear cups or small mason jars let the layers show through, adding to the spooky fun.
They pair well with a simple cup of coffee or a lightly spiced cider to balance the sweetness. If you want to keep things fresh, store assembled cups covered with plastic wrap in the refrigerator for up to 2 days. The gummy worms are best added just before serving to keep their texture intact.
To reheat (if you must), a quick 10-second zap in the microwave softens the pudding slightly, but honestly, cold is better here. Over time, the layers meld and the crumble softens a bit, turning this into more of a creamy chocolate cup—still tasty, but lose some of that crunchy “dirt” texture.
Nutritional Information & Benefits
One serving of these Graveyard Dirt Cups (about 1/2 cup or 125 ml) contains roughly:
| Calories | 220-250 kcal |
|---|---|
| Fat | 9-11 g |
| Carbohydrates | 35-40 g |
| Protein | 3-4 g |
| Sugar | 25-30 g |
While this dessert leans toward indulgence, the Oreo crumble provides some whole grain from the cookie base, and the pudding delivers calcium from the milk. For dairy-free or vegan diets, there are easy substitutes to reduce allergens without losing much flavor. This recipe is gluten-free adaptable, too, making it accessible for many dietary needs.
From a wellness perspective, I think of this treat as a special occasion dessert—something to savor slowly rather than a daily habit. The joy it brings makes the occasional indulgence feel worthwhile. If you’re interested in balancing meals, pairing this with a fresh, hydrating drink like the cucumber mint detox water can be a nice counterpoint.
Conclusion
This Delicious Graveyard Dirt Cup Pudding Desserts with Oreo Crumble recipe is more than just a sweet treat—it’s a little ritual of fun and nostalgia that fits perfectly with the quiet, playful spirit of fall. It’s simple to make, uses ingredients you likely have on hand, and brings out smiles with every layered spoonful.
Feel free to tweak the layers, add your favorite candies, or try different pudding flavors. Honestly, it’s forgiving and adaptable, which is why I keep coming back to it every spooky season.
Making this dessert brings a small but meaningful moment of joy, whether it’s for family, friends, or just yourself. If you try it, I’d love to hear how you put your own spin on these dirt cups—sharing recipes and stories is what makes cooking feel alive.
FAQs About Delicious Graveyard Dirt Cup Pudding Desserts
Can I make these ahead of time?
Yes! Prepare the pudding and crumble layers up to a day in advance. Add gummy worms just before serving to keep them fresh and chewy.
What if I don’t have instant pudding mix?
You can make pudding from scratch using cocoa powder, sugar, cornstarch, and milk, but instant mix is easier and sets more reliably for this dessert.
Are there good substitutes for Oreos?
Chocolate sandwich cookies work well. For gluten-free options, use certified gluten-free chocolate cookies.
Can I use homemade pudding?
Absolutely! Just be sure it’s thick enough to hold layers without becoming too runny.
How do I keep the gummy worms from getting sticky?
Add them last, just before serving. Storing gummy worms in the fridge separately helps maintain their texture.
Pin This Recipe!
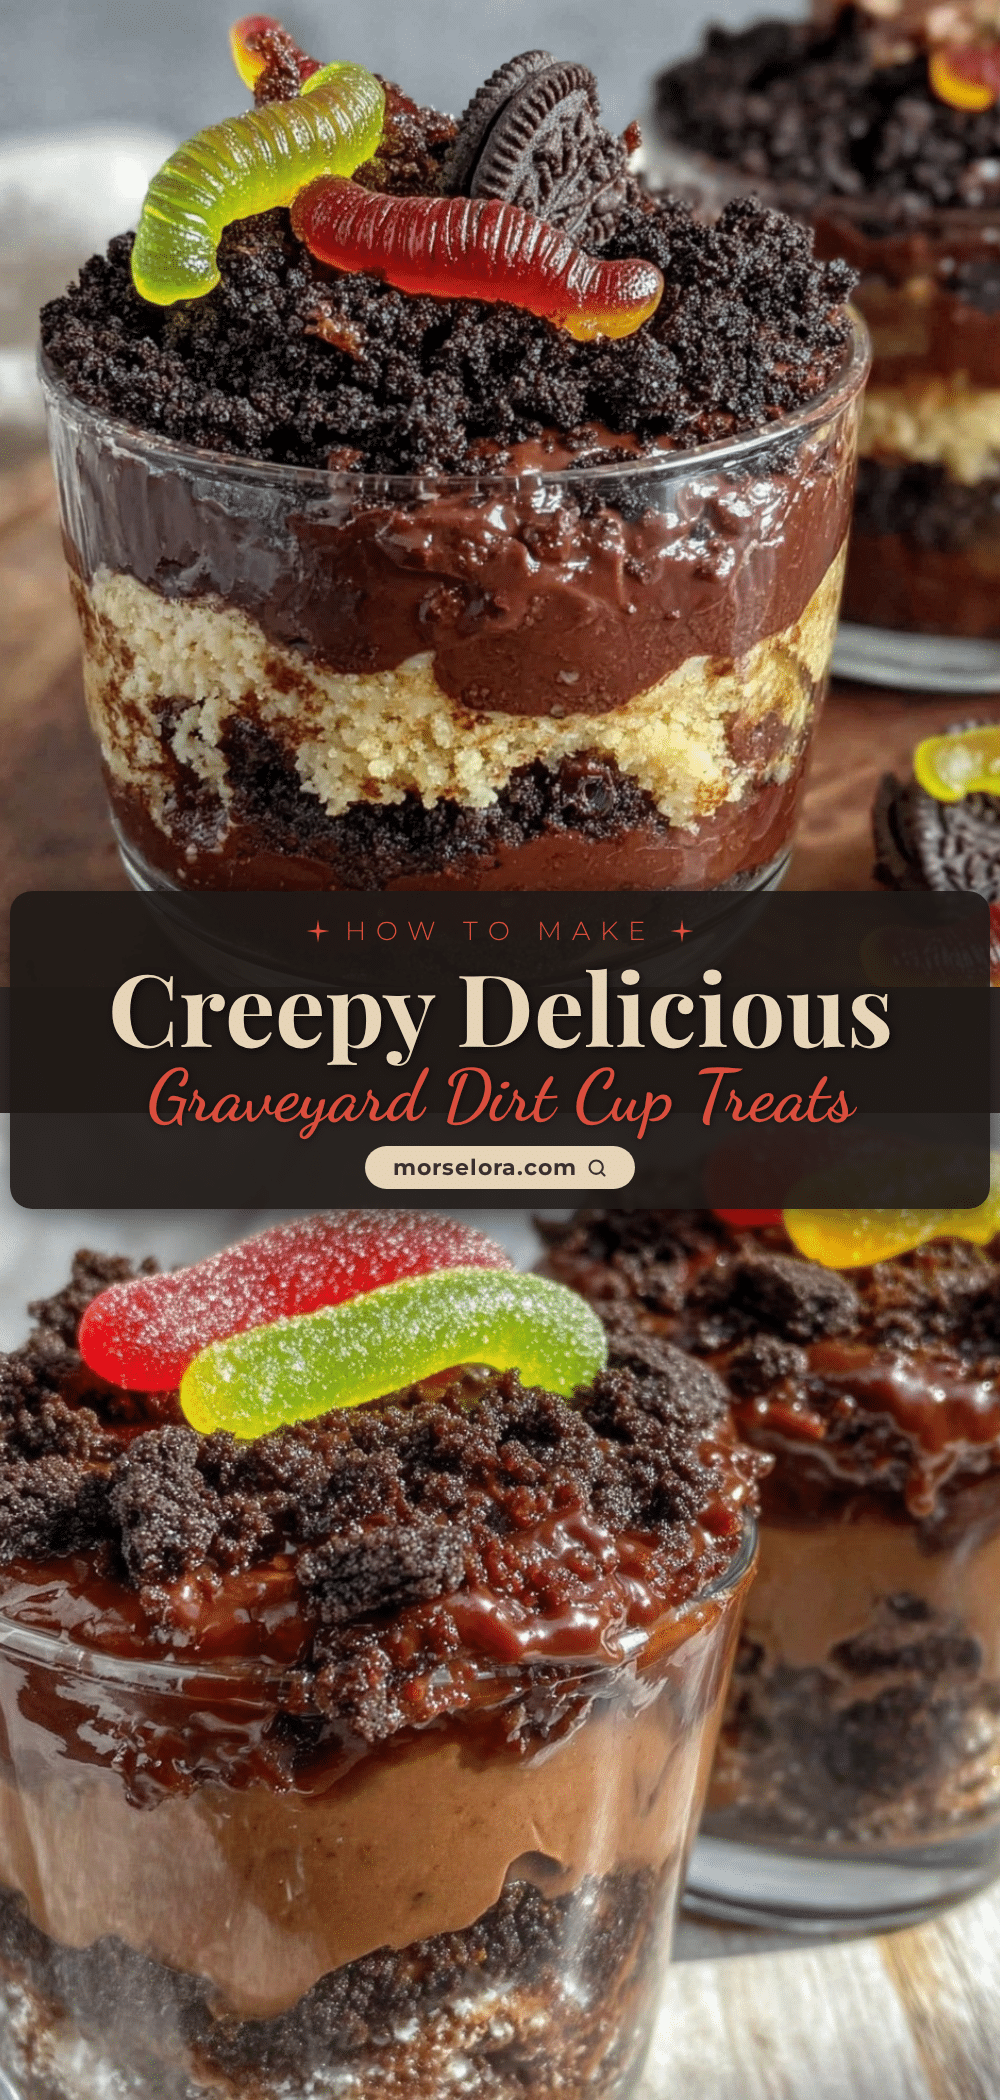
Delicious Graveyard Dirt Cup Pudding Desserts Easy Oreo Crumble Recipe

A fun and easy Halloween-themed dessert featuring layers of creamy chocolate pudding, crunchy Oreo crumble, and playful gummy worms. Perfect for parties or cozy fall nights.
- Prep Time: 10 minutes
- Cook Time: 0 minutes
- Total Time: 40 minutes
- Yield: 6 servings 1x
- Category: Dessert
- Cuisine: American
Ingredients
- 1 package (3.9 oz / 110 g) instant chocolate pudding mix
- 2 cups (480 ml) milk (whole milk preferred, 2% or almond milk as alternatives)
- About 20 Oreo cookies, crushed
- 1 small bag (3 oz / 85 g) gummy worms
- Optional: whipped cream for topping
Instructions
- In a mixing bowl, whisk together the instant chocolate pudding mix and 2 cups (480 ml) of cold milk for about 2 minutes until thickened. Set aside for 5 minutes to fully set.
- Place about 20 Oreo cookies into a zip-top bag. Seal tightly and crush with a rolling pin or heavy pan into a mix of fine crumbs and small chunks.
- Spoon about 2 tablespoons (30 g) of Oreo crumbs into the bottom of each serving cup.
- Carefully spoon 1/4 cup (60 ml) of the prepared chocolate pudding over the crumb layer and smooth gently.
- Repeat layering with another 2 tablespoons of Oreo crumbs and 1/4 cup of pudding. You can have 2 to 3 layers depending on cup size.
- Top with a few gummy worms, partially burying some in the top Oreo layer for effect.
- Optionally, add a dollop of whipped cream on top.
- Refrigerate the assembled cups for at least 30 minutes before serving.
Notes
Whisk pudding mix vigorously for smooth texture. Chill milk before mixing. Crush Oreos to varied sizes for authentic ‘dirt’ texture. Add gummy worms last to prevent stickiness. Assemble ahead but add gummy worms fresh. For vegan or gluten-free versions, use appropriate pudding mix and cookies.
Nutrition
- Serving Size: About 1/2 cup (125 m
- Calories: 235
- Sugar: 28
- Sodium: 150
- Fat: 10
- Saturated Fat: 4
- Carbohydrates: 38
- Fiber: 1
- Protein: 3.5
Keywords: Halloween dessert, pudding cups, Oreo crumble, gummy worms, easy dessert, no bake, chocolate pudding, spooky treats