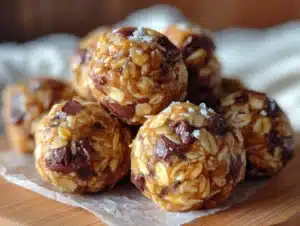
Honestly, I thought no-bake granola bars were just a sneaky way to skip the real cooking and end up with something bland or crumbly. My mindset was, “How can a handful of ingredients mixed together without heat actually hold up as a snack, let alone taste good?” That doubt stuck around, especially when thinking about packing them for busy school mornings. But then, one hectic afternoon right before school started, when the pantry looked bare and time was slipping away, I let curiosity win and threw together a batch of these easy no-bake chocolate peanut butter granola bars.
The first bite surprised me—it wasn’t just edible; it was downright satisfying. The peanut butter gave it this creamy richness, while the chocolate added a playful sweetness that felt like a treat but wasn’t overly sugary. Plus, the bars held their shape, no crumbling disaster in sight. Over the weeks that followed, these granola bars became a staple in my back-to-school routine, quietly winning over my skepticism. They’re simple, quick, and honestly, they make the chaotic mornings a bit more manageable. What stuck with me most is how these bars somehow manage to feel like a little moment of calm and energy all wrapped up in one.
Why You’ll Love This Recipe
After several trials perfecting these easy no-bake chocolate peanut butter granola bars, I can say they’re not your typical grab-and-go snack. Here’s why they’ve earned a permanent spot in my recipe box:
- Quick & Easy: Ready in under 15 minutes, making them perfect for those crazy school mornings or last-minute snack preps.
- Simple Ingredients: With just five pantry staples, no need for fancy shopping trips—peanut butter, oats, honey, chocolate chips, and a pinch of salt.
- Perfect for Back to School: They’re portable, mess-free, and packed with protein and energy to fuel long school days.
- Crowd-Pleaser: Kids and adults alike keep reaching for seconds, and that chocolate-peanut butter combo is always a winner.
- Unbelievably Delicious: The texture is chewy without being sticky, and the chocolate melts just right to add a little indulgence.
What sets this recipe apart is how it balances ease with flavor. The trick? Using creamy peanut butter that blends smoothly into the oats and a touch of honey to hold everything together without turning the bars into a sticky mess. These bars aren’t just snacks; they’re little bites of comfort that fit easily into a busy day. Honestly, after making them, I realized sometimes the simplest recipes hold the biggest surprises.
What Ingredients You Will Need
This recipe uses simple, wholesome ingredients to deliver bold flavor and satisfying texture without the fuss. Most of these are pantry staples you probably already have on hand, and they’re easy to swap based on what you like or need.
- Rolled oats (1 1/2 cups / 135g) – The base of the bars; use old-fashioned oats for the best chew.
- Peanut butter (1/2 cup / 128g) – Creamy works best to bind the bars smoothly. I like Skippy Natural for a good balance of flavor and texture.
- Honey (1/3 cup / 113g) – Acts as a natural sweetener and glue; raw honey adds a nice floral note.
- Mini chocolate chips (1/2 cup / 90g) – Semi-sweet or dark chocolate for a rich bite; you can swap for dairy-free chips if needed.
- Salt (1/4 tsp) – Just a pinch to enhance flavor and balance the sweetness.
If you want to switch things up, almond butter or sunflower seed butter works if you have nut allergies. For a gluten-free twist, be sure to grab certified gluten-free oats. In summer, I sometimes toss in dried cranberries or chopped nuts for an extra pop of texture and flavor. The simplicity of these ingredients means you can experiment without overcomplicating the process.
Equipment Needed
You don’t need a fancy kitchen setup to make these bars. Here’s what I use and recommend:
- Mixing bowl: Medium size, to combine all the ingredients easily.
- Spoon or spatula: For mixing; a sturdy silicone spatula works great to scrape the sides.
- 8×8 inch baking pan: Line it with parchment paper for easy removal and clean-up.
- Measuring cups and spoons: For accuracy—especially with oats and peanut butter.
- Refrigerator: To chill and set the bars.
If you don’t have a baking pan, a small square container or even a loaf pan works fine; just adjust the thickness of the bars accordingly. I once used a disposable aluminum pan when I was out of my usual dish, and it held up just fine. No special tools or mixers needed, which makes this recipe super accessible for quick prep or even cooking with kids.
Preparation Method
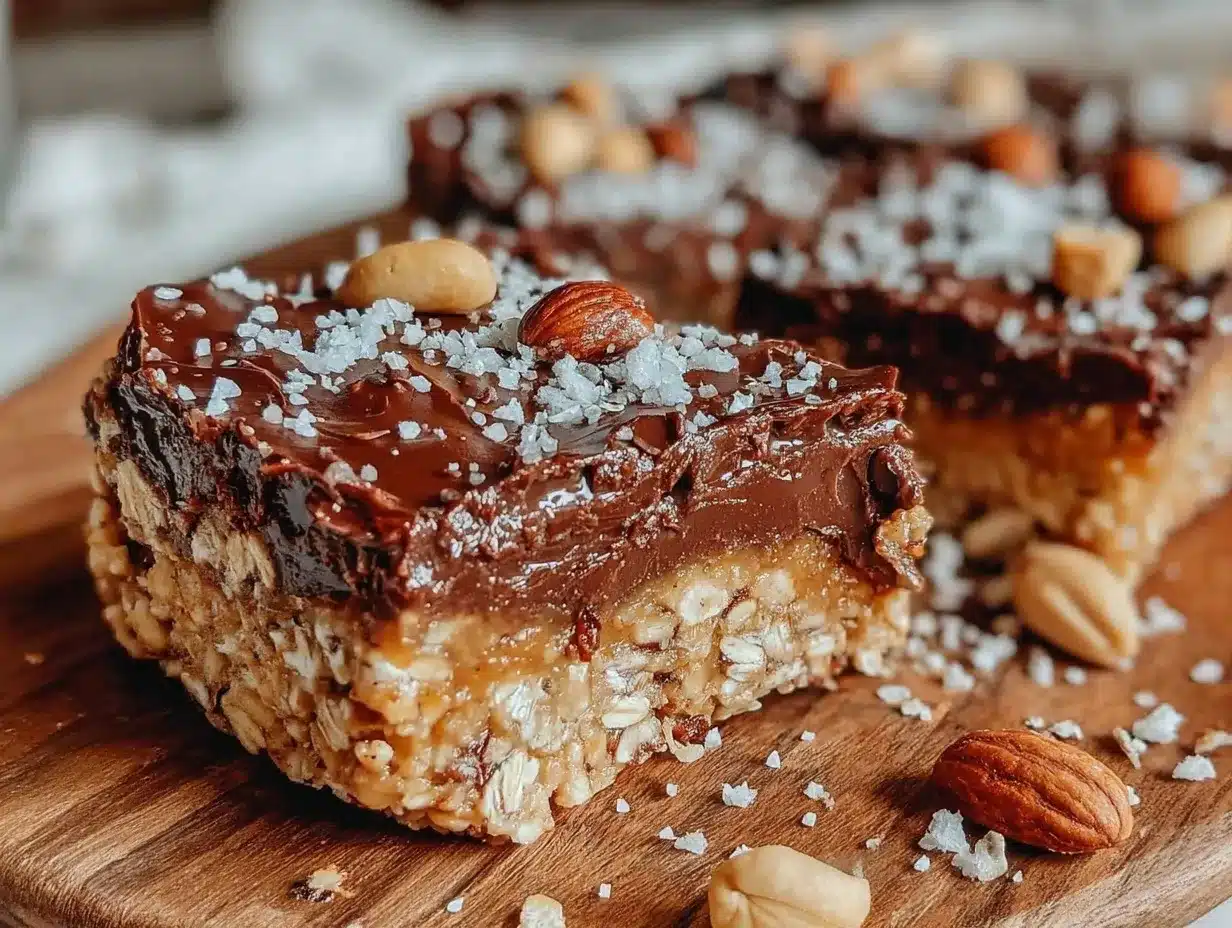
- Gather your ingredients: Measure out 1 1/2 cups (135g) of rolled oats, 1/2 cup (128g) of creamy peanut butter, 1/3 cup (113g) honey, 1/2 cup (90g) mini chocolate chips, and a 1/4 teaspoon pinch of salt. Having everything ready helps keep things moving smoothly.
- Combine peanut butter and honey: In your mixing bowl, stir together the peanut butter and honey until smooth and well blended. This usually takes about 2 minutes—don’t rush, as you want a creamy base.
- Add oats and salt: Mix in the rolled oats and salt. The mixture will thicken and get chewy. Stir until the oats are evenly coated.
- Fold in chocolate chips: Add the mini chocolate chips last, folding gently to distribute without melting them prematurely.
- Press mixture into pan: Line an 8×8 inch baking pan with parchment paper. Press the mixture firmly into the pan, smoothing the top with the back of a spatula or your hands. The firmer you press, the better the bars hold together.
- Chill to set: Refrigerate for at least 1 hour to allow the bars to firm up. If you’re in a hurry, 30 minutes in the freezer works too, but watch so they don’t freeze solid.
- Cut and serve: Once set, lift the bars out using the parchment paper and cut into 10-12 bars. Store leftovers in an airtight container in the fridge.
Keep an eye on the texture at each step. If the mixture feels too sticky or loose, a tablespoon more oats can help. If it’s too dry, a touch more peanut butter or honey will fix that. When pressing into the pan, be patient—firm pressure makes all the difference in preventing crumbly bars later.
Cooking Tips & Techniques
These no-bake bars are straightforward, but a few tricks can make a big difference:
- Use room temperature peanut butter: It blends more easily with honey, avoiding lumps and making the mixture smooth.
- Don’t skip pressing firmly: It’s tempting to just plop the mix in the pan, but firm pressure helps the bars hold together without crumbling.
- Watch the chocolate chips: Add them last and fold gently to keep them from melting into the mixture.
- Chill long enough: Patience is key—at least an hour in the fridge gives the bars the right texture, so don’t skimp on this step.
- Timing multitasking: While the bars chill, I usually prep other quick snacks like my healthy high-protein quinoa and black bean salad for a balanced lunchbox.
- Common mistake: Using crunchy peanut butter can lead to uneven textures, so stick to creamy unless you prefer a chunkier bite.
Honestly, the first time I tried this, I pressed the mixture too lightly, and the bars fell apart. Learning from that, now I press firmly and get consistent results every time.
Variations & Adaptations
One of the best parts about this recipe is how easy it is to tweak based on preferences or what’s in your pantry.
- Nut-Free Version: Swap peanut butter for sunflower seed butter and replace chocolate chips with dairy-free or carob chips to avoid allergens.
- Seasonal Twist: Add dried cherries or cranberries in place of some chocolate chips in fall or winter for a tart contrast.
- Extra Crunch: Stir in chopped nuts like almonds or walnuts for texture and nuttiness.
- Different Sweeteners: Use maple syrup instead of honey for a vegan-friendly version, though the bars might be a bit softer.
- Flavor Boost: Mix in a teaspoon of vanilla extract or a sprinkle of cinnamon for a subtle twist.
Once, I tried using almond butter and dark chocolate chunks with a pinch of sea salt on top—totally changed the vibe and made for a more grown-up snack. Feel free to experiment until you find your favorite combo.
Serving & Storage Suggestions
These bars are super versatile when it comes to serving and storing:
- Serving Temperature: Best served chilled or at room temperature to keep that chewy texture intact.
- Pairing Ideas: Great alongside a glass of milk or a refreshing drink like the cucumber mint detox water for a hydrating balance.
- Storage: Keep bars in an airtight container in the fridge for up to one week. For longer storage, wrap individually and freeze up to three months.
- Reheating: They don’t really need reheating, but if you want a softer bite, a 10-second zap in the microwave works wonders.
- Flavor Development: Bars stay tasty over time, but the chocolate chips may firm up more after chilling, adding a pleasant snap.
Nutritional Information & Benefits
Each bar is roughly 150-170 calories, depending on size, making it a balanced snack option. The peanut butter offers healthy fats and protein, while oats provide fiber and slow-release energy—perfect for keeping kids fueled through classes. Honey adds natural sweetness without refined sugars, and a touch of salt balances flavors. These bars are gluten-free if you use certified oats and can easily be made dairy-free with the right chocolate chips. They’re a way to sneak in wholesome nutrients without sacrificing taste—something I appreciate when packing school lunches.
Conclusion
Making these easy no-bake chocolate peanut butter granola bars turned out to be one of those kitchen wins I didn’t see coming. They’re simple, fast, and genuinely tasty snacks that fit perfectly into the hectic back-to-school rhythm. You can tweak them to match your family’s tastes or dietary needs, which has made them a flexible favorite in my home. Honestly, I love how they bring a little calm to the chaos—something every busy parent and kid can appreciate. If you try them, I’d love to hear how you made them your own or any fun twists you discovered!
FAQs
- Can I use crunchy peanut butter instead of creamy? Crunchy peanut butter can be used but may make the bars less uniform and a bit crumbly.
- How long do these granola bars last? Stored in an airtight container in the fridge, they last about one week; freezing extends this to three months.
- Can I substitute honey with another sweetener? Yes, maple syrup is a great vegan alternative, though bars may be softer.
- Are these bars gluten-free? They can be if you use certified gluten-free rolled oats.
- Can I add protein powder to these bars? Yes, adding a scoop of your favorite protein powder can boost nutrition but may require adjusting the wet ingredients.
Pin This Recipe!
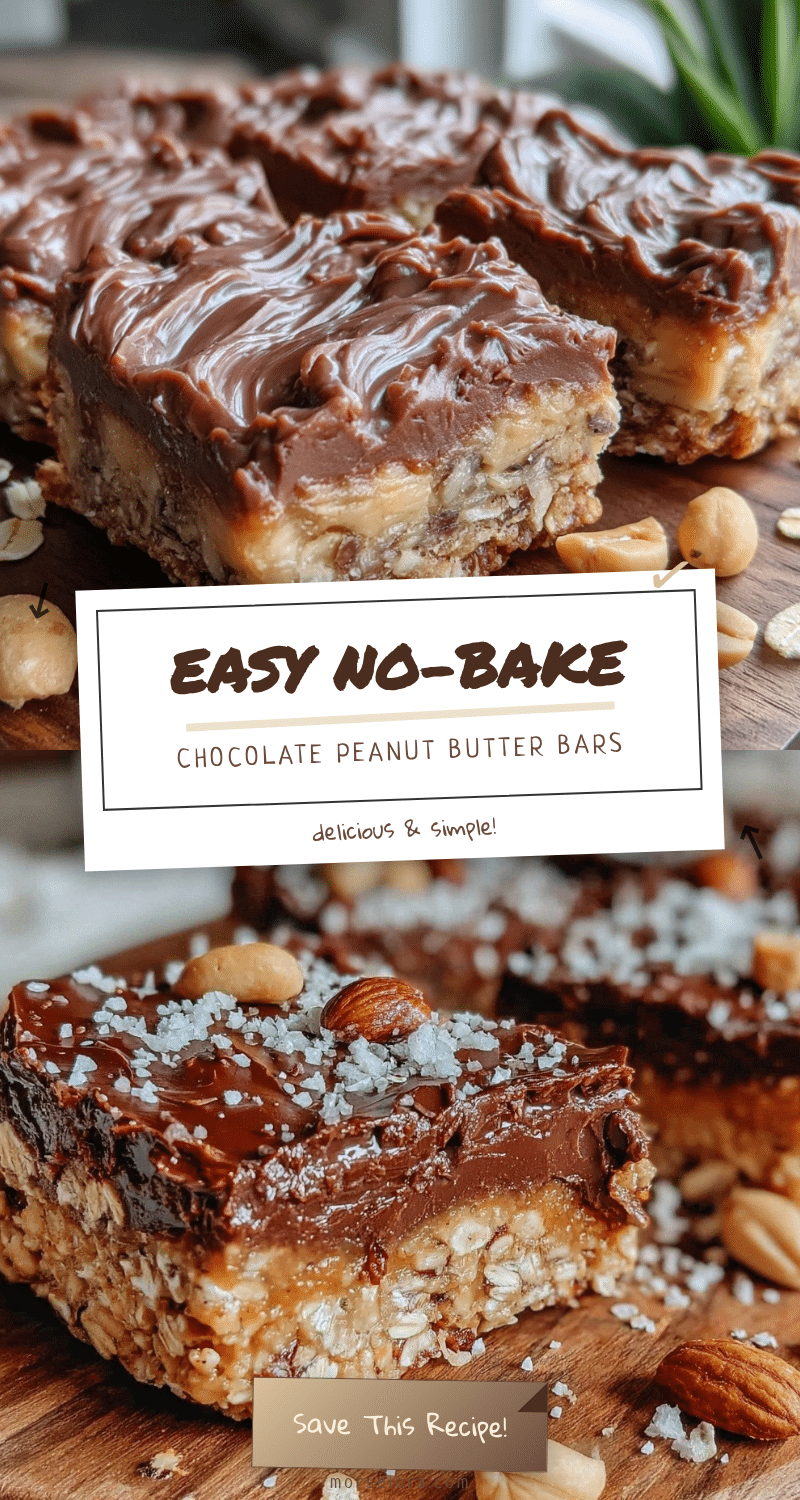
Easy No-Bake Chocolate Peanut Butter Granola Bars 5-Ingredient Back to School Snack
These easy no-bake granola bars combine creamy peanut butter and chocolate for a quick, satisfying, and portable snack perfect for busy school mornings.
- Prep Time: 10 minutes
- Cook Time: 0 minutes
- Total Time: 1 hour 10 minutes
- Yield: 10-12 bars 1x
- Category: Snack
- Cuisine: American
Ingredients
- 1 1/2 cups (135g) rolled oats (old-fashioned)
- 1/2 cup (128g) creamy peanut butter
- 1/3 cup (113g) honey
- 1/2 cup (90g) mini chocolate chips (semi-sweet or dark)
- 1/4 teaspoon salt
Instructions
- Measure out 1 1/2 cups (135g) rolled oats, 1/2 cup (128g) creamy peanut butter, 1/3 cup (113g) honey, 1/2 cup (90g) mini chocolate chips, and 1/4 teaspoon salt.
- In a mixing bowl, stir together the peanut butter and honey until smooth and well blended, about 2 minutes.
- Mix in the rolled oats and salt until the oats are evenly coated and the mixture thickens.
- Fold in the mini chocolate chips gently to distribute without melting them.
- Line an 8×8 inch baking pan with parchment paper and press the mixture firmly into the pan, smoothing the top.
- Refrigerate for at least 1 hour to allow the bars to firm up (30 minutes in the freezer can be used if in a hurry).
- Lift the bars out using the parchment paper and cut into 10-12 bars. Store leftovers in an airtight container in the fridge.
Notes
Use room temperature creamy peanut butter for smooth blending. Press mixture firmly into the pan to prevent crumbly bars. Add chocolate chips last and fold gently to avoid melting. Chill at least 1 hour for best texture. Variations include swapping peanut butter for sunflower seed butter for nut-free, or using maple syrup instead of honey for vegan. Adding vanilla extract or cinnamon can enhance flavor.
Nutrition
- Serving Size: 1 bar (if cut into 1
- Calories: 160
- Sugar: 10
- Sodium: 70
- Fat: 9
- Saturated Fat: 2
- Carbohydrates: 18
- Fiber: 2
- Protein: 5
Keywords: no-bake granola bars, chocolate peanut butter bars, easy snack, back to school snack, 5-ingredient snack, healthy granola bars