Crunchy, snap-happy, and gloriously green, that’s what fresh garlic dilly beans are all about—and that’s the whole point. The moment you bite into these refrigerator pickles, your teeth meet a crispness so clean, it almost sounds like a tiny celebration in your mouth. It’s the kind of texture that makes you pause, fingers sticky with brine, and smile because honestly, textures like this don’t come around every day. I remember the first time I made these dilly beans; the crisp snap was so satisfying that I kept tasting just to hear it again (and again). It’s not about the garlic punch or the dill’s earthy aroma first; it’s really about that perfect crunch, fresh and bright as if the beans had just jumped out of the garden.
These aren’t your typical soggy pickles that languish in vinegar for weeks. No, these refrigerator pickles are lively, quick, and fresh, made to keep that snap alive and well. The way the garlic clings to the surface, the dill fronds dancing in the jar, and the beans’ vibrant green — it’s like they’re daring you not to crunch right into them. I didn’t set out to make a pickle recipe; I was chasing that texture obsession, that fresh, crisp bite that feels like summer on a plate. And you know what? This recipe stuck because it delivers that promise every single time.
It’s a quiet kind of satisfaction, the kind that makes you want to keep a jar in the fridge at all times. They’re perfect alongside a sandwich or as a zesty snack with a cold beer. These fresh garlic dilly beans refrigerator pickles have become my go-to when I want something easy, flavorful, and with that unmistakable crunch that just feels right. If you’re after crisp flavor and a fresh bite, this recipe might just become your new obsession too.
Why You’ll Love This Recipe
- Quick & Easy: Ready to enjoy in just 24 hours, these dilly beans are perfect for busy weeknights or last-minute snack cravings.
- Simple Ingredients: No need to hunt for exotic items—just fresh green beans, garlic, dill, vinegar, and a handful of pantry staples.
- Perfect for Summer & Beyond: Whether it’s a backyard barbecue, picnic, or a cozy night in, these pickles bring brightness to any occasion.
- Crowd-Pleaser: Kids love the crunch, adults adore the tangy garlic and dill combo, making it a hit for all ages.
- Unbelievably Delicious: The balance of crispness and sharp garlic flavor makes these refrigerator pickles stand out from typical canned varieties.
- What Makes It Special: The secret is in the fresh garlic slices and the dill that infuses the beans without overpowering, plus the quick fridge-pickling method that keeps everything crunchy.
- Comfort Food with a Twist: Think of these as your classic dill pickles but fresher, brighter, and with a satisfying snap that makes you want to reach back into the jar again and again.
This recipe isn’t just another pickle—it’s a fresh take on a beloved classic, crafted with care and tested multiple times to get that perfect crisp and flavor. Honestly, the first time I served these alongside my slow cooker honey garlic chicken, the way the bright crunch cut through the rich sauce was something else. It really elevates simple meals without fuss or fancy ingredients.
What Ingredients You Will Need
This recipe uses simple, wholesome ingredients to deliver fresh, bold flavor and that signature crisp texture without any fuss. Most of the ingredients are pantry staples or easy to find at any grocery store during green bean season.
- Fresh green beans: About 1 pound (450 g), washed and trimmed—look for firm, vibrant green beans that snap when bent.
- Garlic cloves: 4-6 large cloves, thinly sliced for a punch of fresh garlic flavor (I love using locally grown garlic when I can).
- Fresh dill: 4-5 sprigs, including fronds, for that classic dill flavor (if you can’t find fresh, use 1 teaspoon dried dill weed, but fresh is best).
- White vinegar: 1 cup (240 ml), the acid that brightens and preserves the beans.
- Water: 1 cup (240 ml), to balance the vinegar and soften the brine slightly.
- Salt: 1 tablespoon kosher salt or pickling salt (avoid iodized salt to keep the brine clear).
- Optional seasoning: 1 teaspoon black peppercorns or red pepper flakes if you like a little heat.
For best results, I recommend using a trusted brand of vinegar like Bragg’s or any pure white distilled vinegar to keep the flavor clean and crisp. If you want to go a little creative, swapping in apple cider vinegar adds a subtle sweetness. And if you’re feeling adventurous, you can try adding a few mustard seeds or a bay leaf for a hint of extra complexity.
Equipment Needed
- Mason jars or any glass jars with airtight lids: I use pint-sized (16 oz / 500 ml) jars to portion my pickles perfectly. Wide-mouth jars make packing the beans easier.
- Sharp knife or mandoline slicer: For slicing garlic thinly and trimming beans cleanly.
- Measuring cups and spoons: For precise brine measurements to keep the flavor balanced.
- Small saucepan: To warm the brine ingredients just enough for dissolving salt and blending flavors.
- Tongs or chopsticks: Handy for packing the beans tightly into jars without bruising them.
If you don’t have mason jars, clean any glass jar with a good sealing lid—just avoid plastic containers to keep that fresh pickle flavor intact. I’ve also tried using silicone lids for jars, which work fine but don’t seal as tightly. For slicing, a mandoline speeds things up but a sharp knife works just as well (just take your time).
Preparation Method
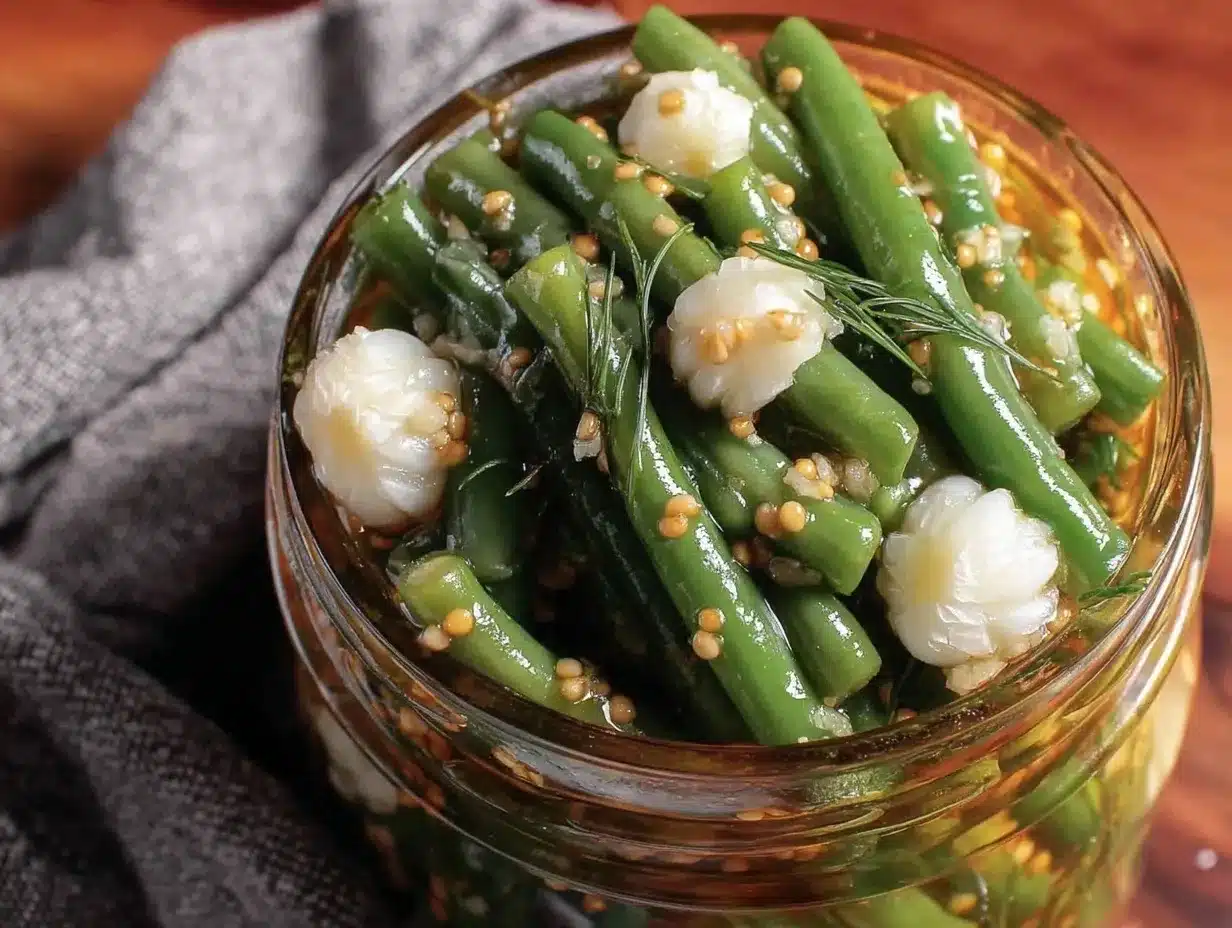
- Prepare the beans: Wash and trim about 1 pound (450 g) of fresh green beans by snapping or cutting off the stem ends. The beans should be crisp and firm—if they bend without snapping, they aren’t fresh enough. This prep step takes about 10 minutes.
- Slice the garlic: Peel 4-6 large garlic cloves and slice them thinly. Thin slices release more flavor quickly, which is key for these refrigerator pickles.
- Pack the jars: Place a sprig of fresh dill at the bottom of each clean pint jar. Then, pack the beans vertically, standing them tall to fit as many as possible without crushing. Add the garlic slices evenly between the beans, and if using, add peppercorns or red pepper flakes now.
- Make the brine: In a small saucepan, combine 1 cup (240 ml) white vinegar, 1 cup (240 ml) water, and 1 tablespoon kosher salt. Warm gently over low heat, stirring until salt dissolves. Do not boil—just warm enough to dissolve salt and meld flavors, about 3-4 minutes.
- Pour the brine: Carefully pour the warm brine over the beans in each jar, leaving about ½ inch (1.3 cm) headspace. Tap jars gently to release air bubbles, and add more brine if needed to cover beans completely.
- Seal and chill: Screw on lids tightly and let jars cool to room temperature. Place them in the refrigerator for at least 24 hours before tasting. The flavor intensifies over 2-3 days, but the crispness stays strong.
- Enjoy: Your fresh garlic dilly beans are ready to crunch! Keep refrigerated and consume within 2 weeks for best texture and flavor.
When packing the beans, don’t cram them too tightly or they’ll lose their snap. I learned this the hard way after my first batch turned mushy. Also, warming the brine gently rather than boiling preserves that clean vinegar taste without dulling the garlic’s brightness. These little tweaks make all the difference.
Cooking Tips & Techniques
To keep your dilly beans crisp and flavorful, here are some tips I’ve picked up over multiple pickling sessions. First, always choose the freshest green beans possible. You want that satisfying snap right from the start. If your beans are limp, no amount of pickling will bring back the crunch.
Second, salt is your friend here—not just for flavor but for drawing out excess moisture and firming up the beans slightly. Using kosher or pickling salt avoids cloudiness and off-flavors. I’ve tried iodized salt before, and the brine looked murky, which was a bummer.
Third, don’t boil your brine. Just warm it enough to dissolve the salt. Boiling vinegar can soften the beans and dull the fresh garlic flavor. Trust me, a gentle heat works wonders.
Lastly, pack the jars snug but don’t crush the beans. This keeps their integrity intact and allows brine to flow between them evenly. When you’re ready to eat, chill the jars for at least 24 hours. The flavors meld beautifully, but the texture stays crisp thanks to the quick refrigerator pickling method.
If you want to get fancy, try layering thin slices of cucumber or radish with the beans for a colorful, crunchy mix—kind of like a twist on the crispy smashed cucumber salad. The garlic and dill marry beautifully with other fresh veggies.
Variations & Adaptations
- Spicy Garlic Dilly Beans: Add ½ teaspoon red pepper flakes or a sliced jalapeño to the jar for a kick that wakes up the palate.
- Low-Sodium Version: Reduce salt to 1 teaspoon and use a splash of lemon juice for extra tang without overpowering the beans.
- Herb-Infused Pickles: Swap some dill for fresh tarragon or thyme to create a subtly different herbaceous note.
- Fermented Dilly Beans: Skip the vinegar and ferment the beans in a saltwater brine for 5-7 days at room temperature for a probiotic-rich twist.
- Garlic-Free Option: For those sensitive to garlic, use extra dill and a few slices of fresh ginger for a unique but still vibrant flavor.
I once tried adding a few sprigs of fresh rosemary to the jars, and while it was unexpected, the piney notes paired surprisingly well with the garlic and dill. Feel free to experiment—this recipe is forgiving and flexible.
Serving & Storage Suggestions
These fresh garlic dilly beans are best served chilled straight from the refrigerator. The snap is most pronounced when cold, and the brine’s bright tang is refreshing. Serve them alongside sandwiches, burgers, or your favorite grilled meats to add crunch and acidity that cuts through richness.
They’re also fantastic on a snack platter with cheeses, olives, and crackers. If you’re throwing a casual get-together, these pickles add a lively touch that’s easy but impressive. Pair with a crisp white wine or an ice-cold lager for maximum enjoyment.
Store the jars tightly sealed in the fridge for up to two weeks. Over time, the beans soften slightly but remain delicious. Reheat is not recommended since the crunch is the star here, but if you want to warm them slightly for a cooked dish, do so gently and briefly.
Flavors actually deepen after a couple of days in the fridge, so don’t be tempted to eat the whole jar on day one (though I won’t judge if you do). I like to prepare these pickles around the same time as my fudgy one-bowl zucchini brownies, keeping both ready for snack attacks—one savory, one sweet.
Nutritional Information & Benefits
Fresh garlic dilly beans make a low-calorie, nutrient-rich snack or side. A ½-cup serving contains approximately 30 calories, 2 grams of fiber, and minimal fat. Green beans provide vitamins A, C, and K, plus folate and minerals like manganese.
Garlic contributes antioxidants and may support immune health, while vinegar has been linked to improved digestion and blood sugar control. This recipe is naturally gluten-free, vegan, and low-carb, making it suitable for many dietary lifestyles.
From my own wellness perspective, these pickles are a fantastic way to sneak more veggies into your day without feeling like a chore. The sharp, fresh flavors also help curb salty cravings without excess sodium.
Conclusion
Fresh garlic dilly beans refrigerator pickles deliver exactly what you want from a crisp, tangy snack: bright flavor, crunchy texture, and easy prep. They’re approachable for beginners but satisfying enough to impress seasoned pickle lovers. I love how these pickles bring a little brightness to simple meals and snacks, and I hope you’ll find that same joy with them.
Feel free to play around with the garlic amount or herbs to suit your taste, and keep the jars stocked in your fridge for whenever the craving hits. This recipe has quietly become a staple in my kitchen, and sharing it here feels like passing along a well-kept secret.
I’d love to hear how your batch turns out or any twists you try—drop a comment below and let’s keep the crunch conversation going!
FAQs About Fresh Garlic Dilly Beans Refrigerator Pickles
How long do refrigerator dilly beans last?
Stored properly in the refrigerator, these pickles stay fresh and crunchy for up to two weeks. After that, the texture may soften, but they’re still tasty.
Can I use frozen green beans for this recipe?
Fresh beans are best for crispness. Frozen beans tend to be softer and won’t hold the crunch as well after pickling.
Do I need to sterilize the jars for refrigerator pickles?
Since these are quick refrigerator pickles and not canned, sterilizing isn’t necessary but rinsing jars with hot water is recommended for cleanliness.
Can I make these dilly beans spicy?
Absolutely! Adding red pepper flakes or a sliced jalapeño pepper to the jar gives a nice spicy kick that complements the garlic and dill.
What’s the best way to use leftover brine?
You can reuse the brine once or twice to pickle fresh batches or drizzle it over salads and roasted veggies for a tangy twist.
Pin This Recipe!
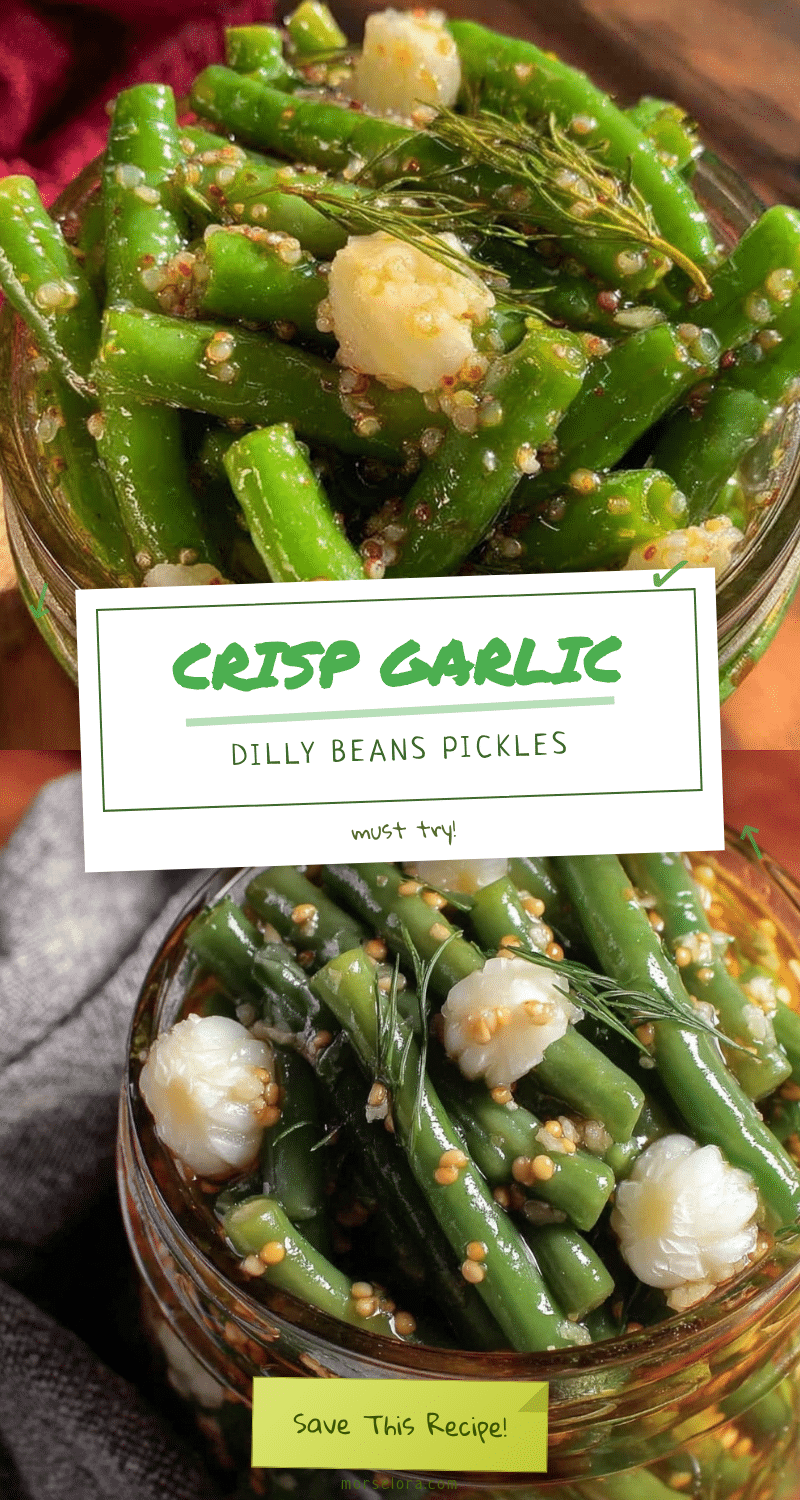
Fresh Garlic Dilly Beans Refrigerator Pickles Easy Crisp Flavor Recipe
Crunchy and gloriously green, these fresh garlic dilly beans are quick refrigerator pickles with a satisfying snap and bright flavor. Perfect for a zesty snack or alongside meals.
- Prep Time: 10 minutes
- Cook Time: 5 minutes
- Total Time: 24 hours (including chilling time)
- Yield: 4 servings 1x
- Category: Side Dish, Snack
- Cuisine: American
Ingredients
- 1 pound (450 g) fresh green beans, washed and trimmed
- 4–6 large garlic cloves, thinly sliced
- 4–5 sprigs fresh dill, including fronds (or 1 teaspoon dried dill weed)
- 1 cup (240 ml) white vinegar
- 1 cup (240 ml) water
- 1 tablespoon kosher salt or pickling salt
- Optional: 1 teaspoon black peppercorns or red pepper flakes
Instructions
- Wash and trim about 1 pound (450 g) of fresh green beans by snapping or cutting off the stem ends. Ensure beans are crisp and firm.
- Peel 4-6 large garlic cloves and slice them thinly.
- Place a sprig of fresh dill at the bottom of each clean pint jar. Pack the beans vertically, standing them tall to fit as many as possible without crushing.
- Add the garlic slices evenly between the beans, and if using, add peppercorns or red pepper flakes.
- In a small saucepan, combine 1 cup white vinegar, 1 cup water, and 1 tablespoon kosher salt. Warm gently over low heat, stirring until salt dissolves. Do not boil.
- Carefully pour the warm brine over the beans in each jar, leaving about ½ inch headspace. Tap jars gently to release air bubbles and add more brine if needed to cover beans completely.
- Screw on lids tightly and let jars cool to room temperature. Place them in the refrigerator for at least 24 hours before tasting.
- Keep refrigerated and consume within 2 weeks for best texture and flavor.
Notes
Do not cram beans too tightly to preserve their snap. Warm the brine gently without boiling to keep the garlic flavor bright. Use kosher or pickling salt to avoid cloudiness. Refrigerate for at least 24 hours before eating. Consume within 2 weeks for best texture.
Nutrition
- Serving Size: ½ cup
- Calories: 30
- Sugar: 3
- Sodium: 600
- Carbohydrates: 6
- Fiber: 2
- Protein: 1
Keywords: dilly beans, refrigerator pickles, garlic pickles, quick pickles, fresh green beans, crunchy pickles, easy pickles, summer snack