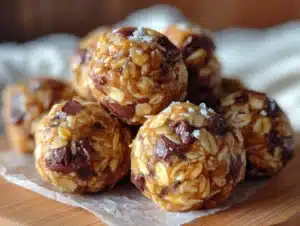
The witch hats disappeared faster than I could count, and before I even sat down with my cup of tea, someone was already asking, “Can I get that recipe?” Third batch in two days, and honestly, I was a little surprised myself. It started as a last-minute idea — a quick, no-fuss treat to whip up for a small Halloween get-together. I wasn’t expecting a standing ovation from a bunch of cookie skeptics (you know, the ones who usually stick to classic chocolate chip). But there it was: the perfect mix of chocolate and peanut butter nestled in a playful, festive shape that seemed to cast a little magic over everyone.
These Delicious Witch Hat Chocolate Peanut Butter No-Bake Cookies somehow hit that sweet spot between nostalgic comfort and fun novelty. The smell alone — rich cocoa mingling with the nutty warmth of peanut butter — pulled people to the kitchen like moths to a flame. I remember sneaking a bite while they were still cooling and thinking, “This might just be the one.”
What really stuck with me was how effortless these cookies were to throw together, yet they looked like I’d spent hours fussing over them. It’s rare for me to find a recipe that earns repeat requests from friends without any stress or mess. When the last crumb vanished, I realized that this wasn’t just a seasonal treat; it was the kind of recipe that could sneak into holiday traditions quietly but firmly. And in a way, that’s what makes these no-bake witch hat cookies so special — they deliver that cozy, homemade feeling without any fuss, and honestly, that’s the kind of magic I want in my kitchen.
Why You’ll Love This Recipe
There’s something about these Delicious Witch Hat Chocolate Peanut Butter No-Bake Cookies that keeps folks coming back — and not just for Halloween! From my experience testing variations and tweaking the peanut butter-to-cocoa ratio, this recipe nails a few key points that make it a keeper:
- Quick & Easy: Ready in under 30 minutes, these cookies are perfect when you need a sweet fix without turning on the oven or pulling out complicated equipment.
- Simple Ingredients: All pantry staples — no obscure items or specialty stores required. Peanut butter, oats, cocoa powder, and a few basics are all you need.
- Perfect for Holidays: The witch hat shape adds a festive touch that’s ideal for Halloween parties, school events, or even a casual autumn afternoon treat.
- Crowd-Pleaser: Kids and adults alike can’t get enough of that chocolate-peanut butter combo. It’s the classic duo, but with a fun twist.
- Unbelievably Delicious: The texture is soft and chewy with a slight crisp from the oats, and the flavor balance is just right — not too sweet, not too rich.
What sets this recipe apart? It’s the no-bake technique paired with a clever assembly that creates those iconic witch hats without any complicated candy work. Instead of melting hard chocolate to shape hats, you get creamy, fudgy layers that hold together beautifully. Plus, I’ve tested versions with crunchy peanut butter and creamy — both work well but give slightly different textures, so you can choose your favorite vibe.
Honestly, I think this recipe stuck because it’s fuss-free comfort food with a little seasonal charm. It’s the kind of treat you can make on a whim, hand out to friends, and watch their faces light up. That’s what makes it more than just cookies — it’s a tiny celebration in every bite.
What Ingredients You Will Need
This recipe uses simple, wholesome ingredients to deliver bold flavor and satisfying texture without the fuss. Most are pantry staples, so you probably have everything on hand already. Here’s what you’ll need to make these delicious witch hat cookies:
- Rolled oats (about 2 cups / 180g) – I prefer old-fashioned rolled oats for the best chew and structure.
- Natural creamy peanut butter (1 cup / 250g) – choose unsweetened or lightly salted for balanced flavor. Crunchy works too if you like some texture.
- Unsweetened cocoa powder (1/2 cup / 50g) – I recommend a good-quality Dutch-processed cocoa for a rich, mellow chocolate taste.
- Honey or maple syrup (1/2 cup / 170g) – adds natural sweetness and helps bind the cookies.
- Vanilla extract (1 teaspoon) – for that warm, fragrant note that lifts everything.
- Mini peanut butter cups (one per cookie) – these form the “hat tops” and add a creamy, chocolatey finish. I prefer mini Reese’s peanut butter cups for authentic flavor.
- Butter (4 tablespoons / 56g) – unsalted, softened for smooth mixing and richness.
- Pinch of salt – balances sweetness and enhances flavor depth.
If you want to make these gluten-free, just swap the rolled oats for certified gluten-free oats. And if you’re dairy-free, try using coconut oil instead of butter and a dairy-free peanut butter cup alternative. In summer, I sometimes swap the mini peanut butter cups for fresh raspberries or halved strawberries to give a fresh twist.
Equipment Needed
One of the best parts about this recipe is that you don’t need any fancy tools. Here’s what helped me make these cookies with ease:
- Medium saucepan: for gently melting the butter, peanut butter, and honey together.
- Mixing bowl: a large one to combine the oats and cocoa powder.
- Spoon or spatula: to stir the mixture thoroughly — a silicone spatula works great here.
- Baking sheet or tray: lined with parchment paper for shaping the cookies.
- Small cookie scoop or spoon: to portion out the batter evenly (not mandatory but helpful for uniform cookies).
If you don’t have parchment paper, a silicone mat or lightly greased tray will do the trick. For melting, I usually just use the stovetop method, but a microwave-safe bowl works if you prefer quick heating — just go slow to avoid scorching. Nothing too fancy, and I find this setup comes together fast, especially when I’m juggling other holiday prep.
Preparation Method
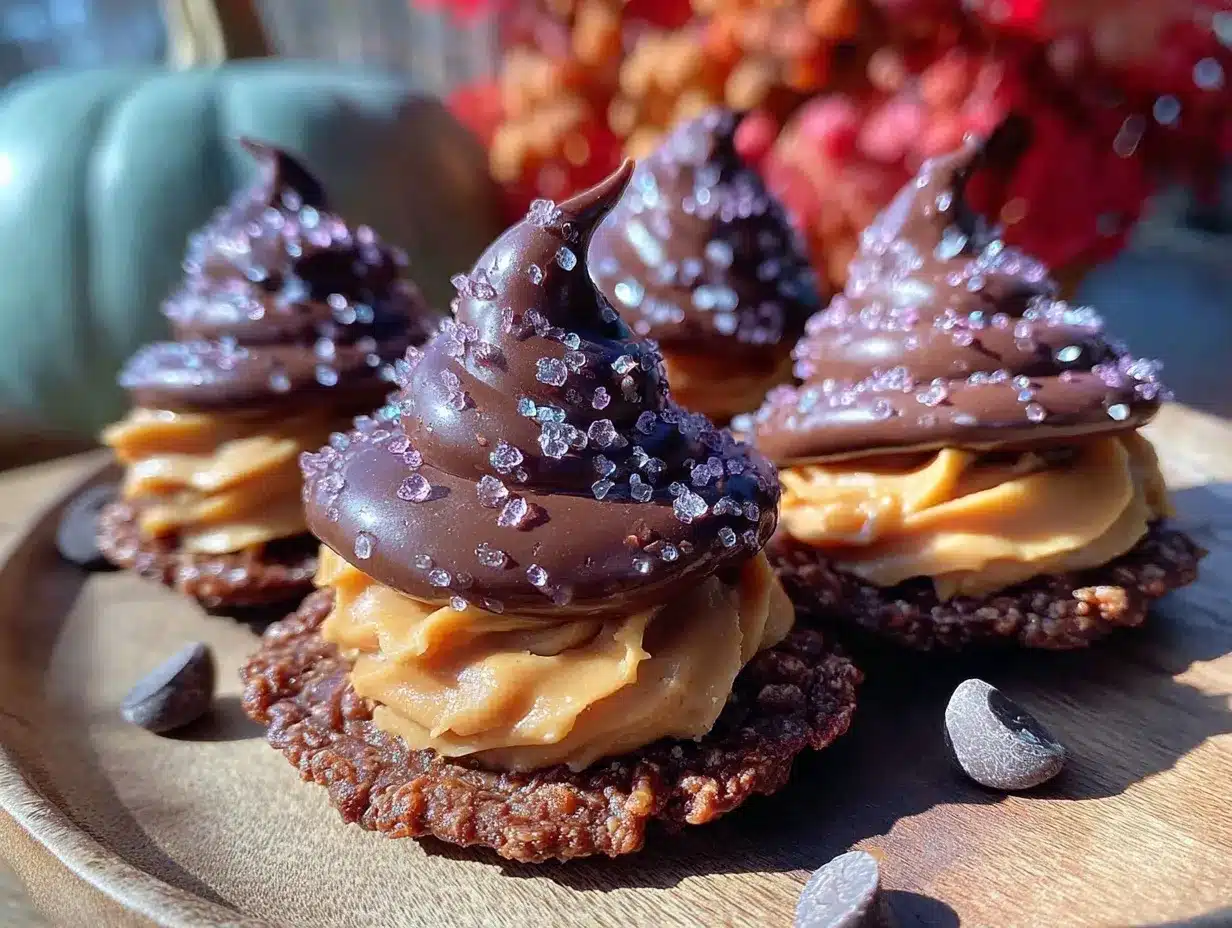
- Prepare your workspace: Line a baking sheet or tray with parchment paper. This makes cleanup easier and helps the cookies set nicely.
- Mix dry ingredients: In a large mixing bowl, combine 2 cups (180g) of rolled oats, 1/2 cup (50g) of unsweetened cocoa powder, and a pinch of salt. Stir gently to blend. This step ensures the cocoa coats the oats evenly, giving that rich chocolate flavor throughout.
- Melt wet ingredients: In a medium saucepan over low heat, combine 1 cup (250g) natural creamy peanut butter, 4 tablespoons (56g) softened unsalted butter, and 1/2 cup (170g) honey or maple syrup. Stir constantly until everything is melted and smooth — this usually takes about 5 minutes. Be patient here; low heat prevents burning.
- Add vanilla: Remove the saucepan from heat and stir in 1 teaspoon vanilla extract. This little addition makes a big difference in aroma.
- Combine wet and dry: Pour the melted peanut butter mixture over the oat-cocoa mix. Using a spatula or wooden spoon, fold everything together until the oats are fully coated and the batter looks glossy and thick. If it feels too runny, pop it back on low heat for a minute while stirring.
- Shape the hats: Using a small cookie scoop or spoon, drop spoonfuls of the mixture onto the parchment paper. Quickly press a mini peanut butter cup onto the top center of each mound, gently pressing down to create the “witch hat” shape. Work quickly before the mixture starts to firm up.
- Set and chill: Place the tray in the refrigerator for at least 30 minutes to firm up. The cookies will hold their shape and develop a fudgy texture.
Tip: If your peanut butter is too thick, warming it slightly before melting helps it combine smoothly. Also, don’t skip the chilling step — it’s key for that satisfying bite and to keep the hats from falling apart when you serve.
Cooking Tips & Techniques
Making no-bake cookies might sound simple, but I’ve learned a few things the hard way that can make or break the batch.
- Temperature control is everything: Melt your wet ingredients slowly on low heat. If it gets too hot, the mixture can separate or scorch, resulting in a grainy texture.
- Oats choice matters: Old-fashioned rolled oats give the best texture — quick oats tend to get mushy, and steel-cut oats won’t soften enough.
- Work fast when shaping: The mixture sets quickly once off the heat. Have your peanut butter cups ready so you can press them in before the batter hardens.
- Don’t skip chilling: Letting the cookies set in the fridge is crucial. Room temperature cookies can be sticky and fragile.
- Storage tip: Store these cookies in an airtight container in the fridge to maintain their shape and freshness.
I once tried making these on a super humid day — the cookies took forever to set and got a bit sticky. Lesson learned: a cool kitchen or fridge time is your friend. Also, if you want firmer cookies, adding a tablespoon of chia seeds or flaxseed meal can help bind things more firmly without changing the flavor much.
Variations & Adaptations
If you want to switch things up, these witch hat cookies are surprisingly adaptable.
- Nut-Free Version: Swap peanut butter for sunflower seed butter and use allergy-friendly chocolate cups or small fruit pieces as the hat toppers.
- Vegan Adaptation: Use maple syrup instead of honey, coconut oil instead of butter, and vegan peanut butter cups to keep it plant-based and delicious.
- Seasonal Flavors: Add a pinch of cinnamon or pumpkin pie spice to the oat mixture for a cozy fall twist. You can also swap the peanut butter cups for dark chocolate squares topped with a sprinkle of sea salt.
- Healthier Boost: Mix in some ground flaxseed or hemp hearts to add omega-3s and fiber without altering taste.
One variation I love is adding a handful of mini chocolate chips inside the oat mixture for extra pockets of melty chocolate. It’s a nice surprise that makes these cookies feel a little more indulgent.
Serving & Storage Suggestions
These cookies are best served chilled or at room temperature — the peanut butter cups stay nicely firm, and the oats keep a soft chew. I like to arrange them on a festive platter with some fresh fruit or a cup of hot apple cider for a cozy vibe.
They pair well with simple drinks like milk, pumpkin spice latte, or even a classic hot chocolate. For a lighter option, try them alongside a refreshing cucumber mint detox water to balance richness.
Store leftover cookies in an airtight container in the refrigerator for up to a week. They freeze well too — just pop them in a freezer-safe container, and thaw in the fridge overnight before serving.
Keep in mind, these cookies tend to soften if left out too long, so refrigeration helps maintain their iconic shape and texture. Over time, the flavors meld nicely, and the peanut butter cups get a bit creamier — not a bad thing if you ask me!
Nutritional Information & Benefits
These no-bake cookies pack a good mix of protein, healthy fats, and fiber thanks to the oats and peanut butter. Here’s a rough estimate per cookie (makes about 12):
| Calories | 180 kcal |
|---|---|
| Protein | 5g |
| Fat | 12g (mostly healthy fats) |
| Carbohydrates | 15g (includes natural sugars) |
| Fiber | 3g |
Peanut butter provides heart-healthy monounsaturated fats and protein, while oats offer soluble fiber which is great for digestion. Using natural sweeteners like honey or maple syrup keeps the sugar content moderate compared to processed sweets.
For those with gluten sensitivities, just be sure to use certified gluten-free oats. Also, these cookies contain nuts and dairy, so they’re not suitable if you have allergies — but the variations above can help accommodate.
As someone who watches their sugar and fat intake, I appreciate how this recipe balances indulgence with wholesome ingredients — it feels like a treat without the guilt.
Conclusion
These Delicious Witch Hat Chocolate Peanut Butter No-Bake Cookies are more than just a festive snack — they’re a little bit of magic you can whip up anytime with minimal fuss. Whether you’re making them for a Halloween bash or just craving a quick, comforting bite, they hold a special place in my recipe box.
I encourage you to customize them with your favorite peanut butter or add-ins, making each batch your own. For me, it’s the way they bring people together — the smiles, the surprise, and the comfort all wrapped in one bite. That’s why I keep coming back to this recipe year after year.
If you give these a try, I’d love to hear how you tweaked the recipe or what memories they bring up for you. Cooking is always better when shared, right? So go ahead, make a batch, and enjoy the little moments that come with it.
FAQs About Delicious Witch Hat Chocolate Peanut Butter No-Bake Cookies
Can I make these cookies without peanut butter cups?
Absolutely! You can substitute the mini peanut butter cups with chocolate chips, small fruit pieces, or even candy eyeballs for a fun look.
How long do these no-bake cookies last?
Stored in an airtight container in the fridge, they keep well for up to a week. For longer storage, freeze them for up to a month.
Can I use quick oats instead of rolled oats?
Quick oats tend to make the cookies softer and less structured. Rolled oats provide the best texture and hold.
Is there a way to make these vegan?
Yes! Use maple syrup instead of honey, coconut oil or vegan butter instead of regular butter, and vegan peanut butter cups or chocolate toppings.
What’s the best way to store leftover cookies?
Keep them in an airtight container in the refrigerator to maintain shape and freshness. Let them come to room temperature before eating for the best texture.
By the way, if you enjoy recipes that blend wholesome ingredients with simple prep, you might appreciate the healthy high-protein quinoa and black bean salad or perhaps a glass of fresh cucumber mint detox water to balance out your day.
Pin This Recipe!
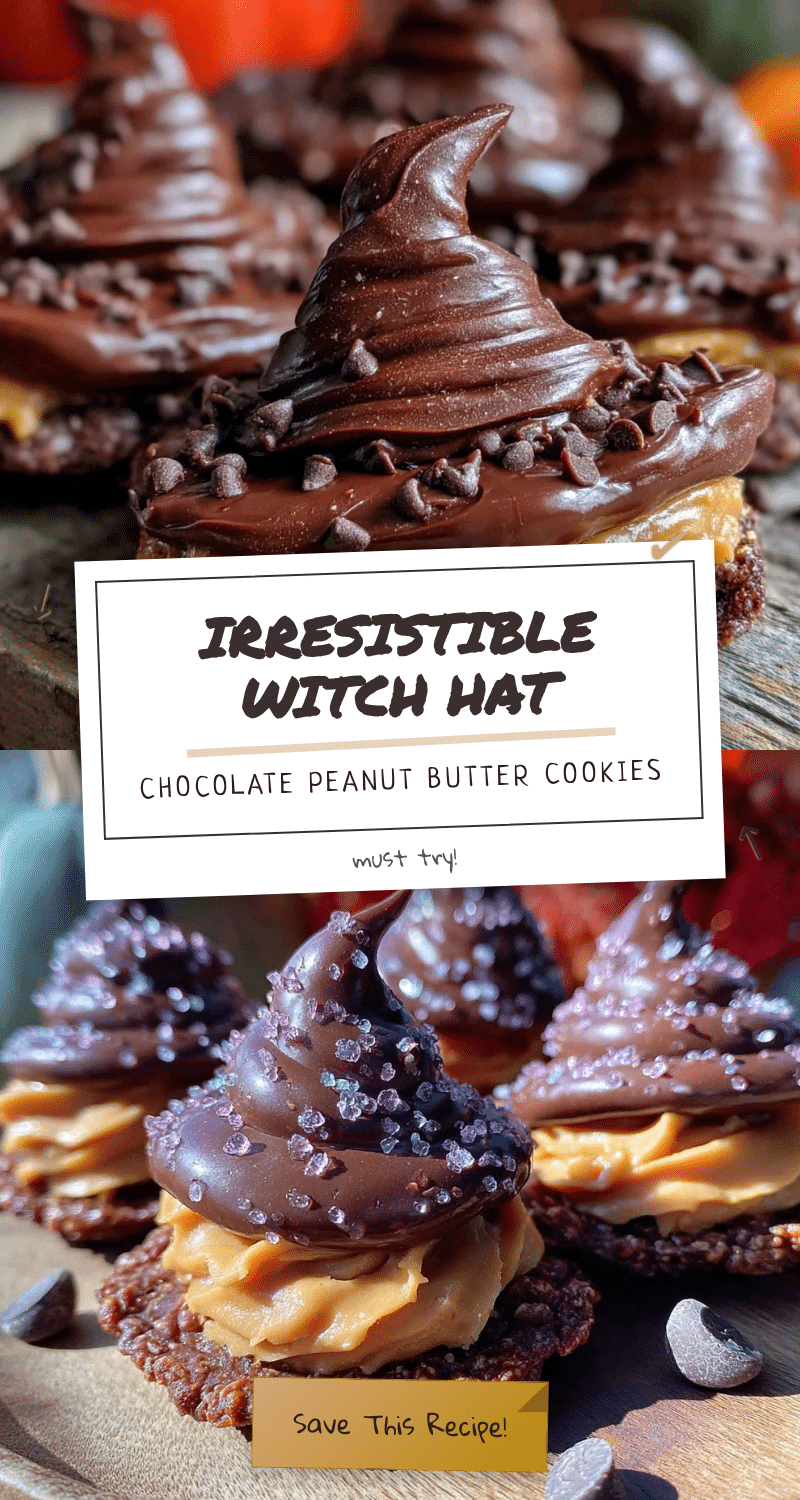
Delicious Witch Hat Chocolate Peanut Butter No-Bake Cookies

These no-bake cookies combine chocolate and peanut butter in a festive witch hat shape, perfect for Halloween and holiday treats. They are quick, easy, and require no oven, making them a crowd-pleaser for all ages.
- Prep Time: 10 minutes
- Cook Time: 5 minutes
- Total Time: 45 minutes
- Yield: 12 cookies 1x
- Category: Dessert
- Cuisine: American
Ingredients
- 2 cups (180g) rolled oats (old-fashioned preferred)
- 1 cup (250g) natural creamy peanut butter (unsweetened or lightly salted; crunchy optional)
- 1/2 cup (50g) unsweetened cocoa powder (Dutch-processed recommended)
- 1/2 cup (170g) honey or maple syrup
- 1 teaspoon vanilla extract
- 12 mini peanut butter cups (one per cookie, e.g., mini Reese’s)
- 4 tablespoons (56g) unsalted butter, softened
- Pinch of salt
Instructions
- Line a baking sheet or tray with parchment paper.
- In a large mixing bowl, combine rolled oats, cocoa powder, and a pinch of salt; stir gently to blend.
- In a medium saucepan over low heat, melt peanut butter, butter, and honey or maple syrup together, stirring constantly until smooth (about 5 minutes).
- Remove from heat and stir in vanilla extract.
- Pour the melted mixture over the oat-cocoa mix and fold together until oats are fully coated and batter is glossy and thick. If too runny, heat gently for another minute while stirring.
- Using a small cookie scoop or spoon, drop spoonfuls of the mixture onto the parchment paper.
- Quickly press a mini peanut butter cup onto the top center of each mound to form the witch hat shape.
- Place the tray in the refrigerator for at least 30 minutes to firm up before serving.
Notes
Use old-fashioned rolled oats for best texture. Melt wet ingredients slowly on low heat to avoid scorching. Work quickly when shaping cookies before mixture firms up. Chill cookies for at least 30 minutes to set properly. Store in airtight container in fridge for up to a week or freeze for up to a month. For gluten-free, use certified gluten-free oats. For dairy-free, substitute butter with coconut oil and use dairy-free peanut butter cups.
Nutrition
- Serving Size: 1 cookie
- Calories: 180
- Sugar: 8
- Sodium: 70
- Fat: 12
- Saturated Fat: 3
- Carbohydrates: 15
- Fiber: 3
- Protein: 5
Keywords: no-bake cookies, witch hat cookies, chocolate peanut butter cookies, Halloween treats, easy holiday cookies, no oven cookies